
When I look at my photo books, I surf the waves of the Atlantic again, pet kangaroos in Australia, eat tajine in Morocco or share a beer with friends in Crete. Travel photo books are my faithful companions for reliving my memories. These beautiful memories deserve an equally beautiful frame. I have therefore put together a few tips for you on how to make your next travel photo book even more appealing.
What story would you like to tell?
I like photo books that tell a story and have a common thread. Ideally, stories that are captivating and moving. So think about what story you want to tell. Should it be chronological, geographical or thematic? How many chapters should your story have? For a travel photo book, for example, a geographical chapter structure is a good idea.
Next, think about which photo book and format you want to design. I prefer to design my travel photo books as premium photo books, in the Carré format and with a matt cover, as I like this combination best.
When selecting the photos, I work with the favourites function on my iPhone during my travels. That way I’m much quicker with the selection.
White space and variety
By designing pages with lots of white space, you draw attention to the photos and give the viewer space to enjoy the images. White space also creates an elegant and modern aesthetic that enhances the entire photo book.
To keep the viewer interested, it is also important to add variety to the layout. Remember that less is often more, so don’t put too many photos on one page. Use different layouts on the pages: Sometimes a single photo that takes up an entire page, and then again a page with 2 – 3 images. Different arrangements and image sizes keep the book exciting and dynamic.

Maps and routes
Add maps of your adventures to better illustrate the geographical dimension of your story.
For example, mark the places you visit as a route on the map. You can easily do this with our software. Search for a map on Google, add it to an image box and mark your route using the ‘New line’ function:

Text is just as important as your photos
Choosing the right font is a decisive factor when designing a photo book. A well-chosen font can emphasise the overall appearance of the book.
Combining two or three fonts can add visual depth to the photo book. For example, you could choose a thin, squiggly font for headings and a clear, sans serif font for body text. You can also choose a different colour for the headings, which I personally really like.
My favourite fonts from the Bookfactory software:
- Zilla Slab
- Josefin Slab
- Courier New
- Source Code
- Lora
I also like to add thoughts, lyrics and song lines to my travel photo books. I got the idea for the song lines from the winner of the photo book competition, Matthias Notter. He also added song lines to the photos in his book that reminded him of certain experiences.
The first impression counts
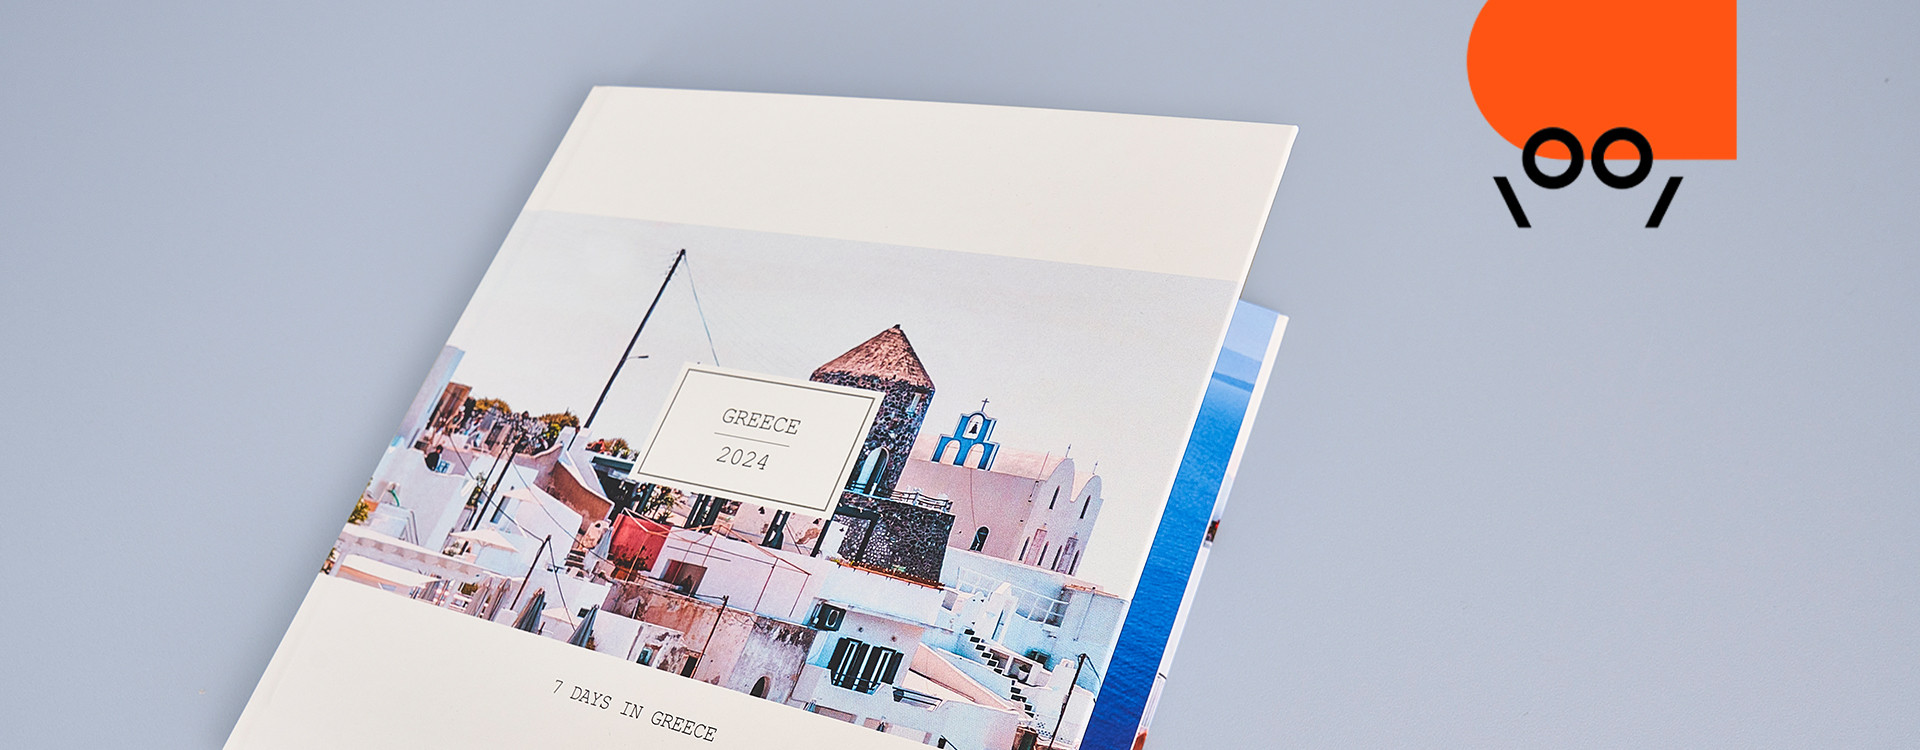
The cover should reflect the central theme of the photo book and that’s why I design it at the end. A well-designed cover attracts attention and invites you to look at the pictures inside. Think about which themes, moments or images are suitable for the cover or a chapter overview while you are travelling.
If you keep designing travel photo books, I think it’s nice if you can tell from the cover that it’s part of a series. In other words, I design the covers of all my travel photo books in the same style. This is what they look like:

Wie ich das Cover gestaltet habe:
- I put a picture box over the whole cover but leave white space at the top and bottom
- I add a photo of my destination to the picture box
- I insert a text box and select the colour white for the background
- I insert text into the text box
- I use the ‘New line’ function to insert a line between the country and the year as a design element
- I insert an empty image box and place it over the text box but leave a white border
- I select a frame for this empty image box and set it to 0.5 mm
And my travel photo book is ready and all I have to do is add it to my shopping basket. From then on, it will hold my memories forever and ever…

Claudia Betschart, Marketing & Customer counselling


