
Exposure time, aperture and hands off the flash! How to capture the night in all its beauty.
The darkness creates magical moments. No wonder people have been trying to capture these moments for eternity ever since photography was invented. If you want to take unique night shots, you must venture outside the comfort zone of the camera’s automatic function and master the challenges of low ambient light.
Put some thought into your image
A unique photo starts with a unique image. With night shots, it’s less about the details and more about the interplay between light, lighting effects and darkness. This means that distance, perspective and light sources become all the more important.
Pick the right time
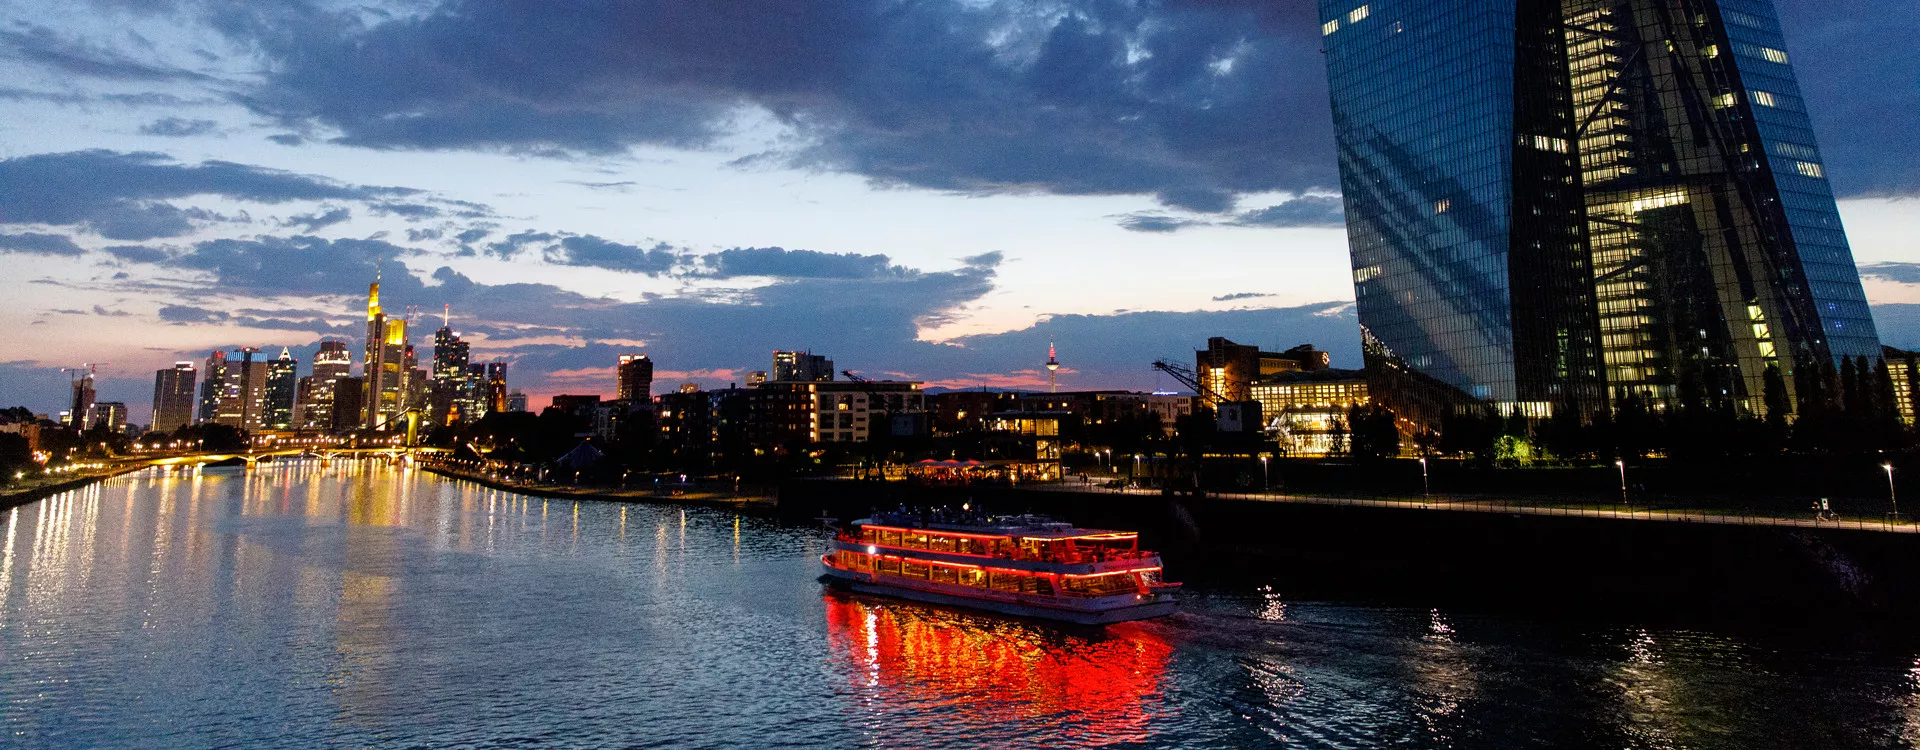
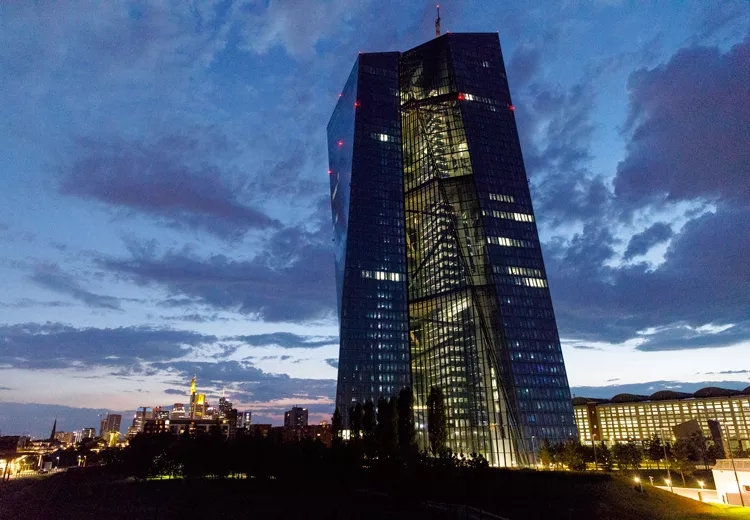
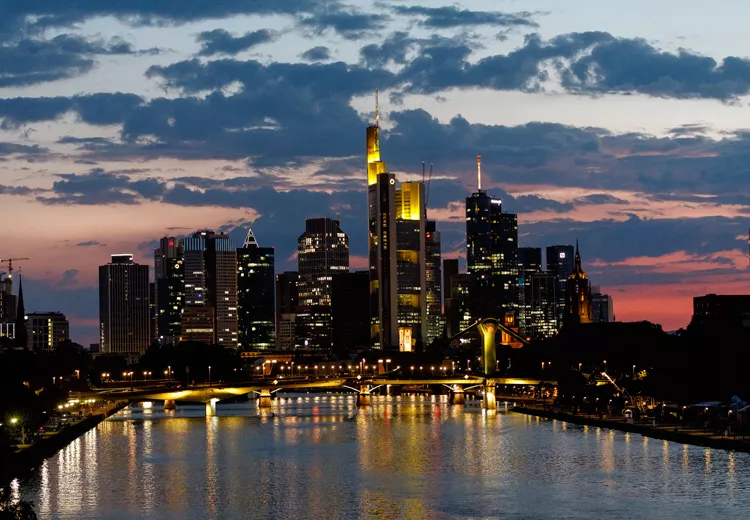
Many photographers prefer shooting during the so-called “blue hour” in the evening when the last sunlight falls very low on the earth and a special atmosphere is created. Yet even in complete darkness, the last remaining light sources such as the moon, starts or artificial light can produce unique effects.
Use a tripod
Night photography without a tripod gives satisfactory results in the rarest of cases because exposure times more than approx. 1/15 of a second taken freehand will inevitably be blurred. For this reason, select a good location for your tripod on firm ground and align the tripod horizontally.
Make use of light sources
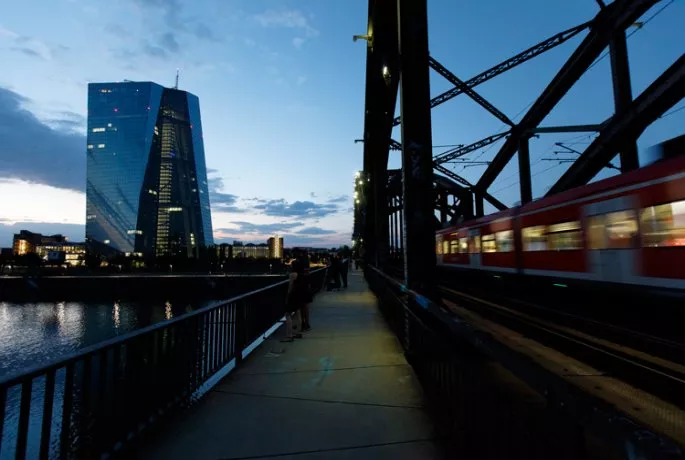
The camera’s flash only illuminates the immediate surroundings. In general, however, most night shots are taken from a distance, where the flash has no effect. This is why you should refrain from using the flash and instead look for soft light sources that produce as little reflection as possible in the lens.
Know the settings
Perfect night shots require good interplay between ISO values, aperture and shutter speed. Do not simply rely on the camera’s automatic night function; try to find the best settings yourself. A low ISO value is essential for this. The photo is not artificially brightened, so you can capture a clear black that is not affected by so-called image noise. An ISO value of 100 – 200 prevents the photo from becoming grainy and losing its rich colours.
Choose a suitable aperture value depending on the desired depth of field. The aperture must be wide open to allow plenty of light to reach the sensor, but not so wide that it creates a too shallow depth of field. Start out by testing an aperture value of 9 – 13. For a very sharp and detailed photo, exposure time should be between 30 and 120 seconds.
Use the self-timer
Camera shake is always a problem at slow shutter speeds. Therefore, use the camera’s self-timer or a remote control. You can also avoid tiny camera shakes by locking up the mirror. This prevents the image from being blurred due to mirror bounce.

Select the correct image format
In order to be able to edit the photos later on, save your images in raw format instead of as .jpg. To do this, switch your camera to RAW mode.
Our tips at a glance:
- Choose a solid spot for your tripod with a good perspective
- Refrain from using the flash and look for interesting light sources in the surrounding area instead
- In the settings, select a low ISO value with a wide open aperture and a long exposure time
- Avoid using the manual shutter release in order to prevent camera shake
- Save your photos in RAW mode in order to be able to edit them later
Have you also made beautiful night shots and would like to capture them on a high-quality Bookfactory mural or a photo calendar. Our tip: The real photo calendar in large format in high gloss. Start right away with the design and enjoy your pictures yourself.