
I’m Fabian, Product Owner at Bookfactory, and today I’m going to show you how you can create a family photo book with a little discipline and in a simple way.
Every year until my 18th birthday, my parents gave me a photo album with the highlights of the year. I still flick through these albums regularly today.

«Thank you dad for the great work and the time you put into the Photo books! For me, and also for my own little family, these are memories for life.”
Personally, I have therefore decided to implement this concept for my daughter too. However, as most people nowadays “snap” with their smartphones, the journey doesn’t just start with the creation of the Photo book, but already on the device, with the selection of the Photos. We will cover the following topics in this article:
- Pre-selecting Photos: “Regular sorting is the be-all and end-all
- Photo selection with your partner: “Shared album”
- Product selection: “My personal favourite book”
- Photo selection in the Bookfactory app: “Set favourites”
- Simple design: “Less is often more”
- Tips and tricks: “Design element with the pipette”
Pre-selecting the images: “Regular sorting is the be-all and end-all”
Thanks to the high-quality cameras built into the new smartphones and the storage space in the cloud, you can now store practically an infinite number of Photos.

This leads to a huge selection of images and a great deal of effort in selecting the Photos for the Photo book. In the past, this was probably a little easier with analogue cameras, as the limited number of images per film meant that you had to concentrate on the essentials when taking the photos. There is often a second device with Photos – that of the other parent, which makes the selection even more difficult.
In the next chapter, you will learn how to approach the selection in portions.
Photo selection with your partner: “Shared album”
My partner and I have an iPhone and work in the Apple universe.
The first thing I did was to create a shared album “Family” via the Photos app, in which we both store our favourite pictures. The agreement here is: “Only the best Photos will be stored!”.

(By the way, if you don’t have an iPhone – the same principle also works with Google Photos)
A little tip on the side: Instead of spending 10 minutes playing Candy Crush or scrolling through Instagram, use 10 minutes a week to tag your Photos and file them in the shared album. That way, you’ll make continuous progress and don’t have to do everything at once. Experience has shown that these mini-sessions work much better and you can recap your trips and experiences of the week at the same time.
Product selection “My personal favourite book”
At some point in the middle of the year, I start to think about the design of the book. Choosing the right product plays a major role in this. A series of books (family books) should look as identical as possible on the bookshelf.

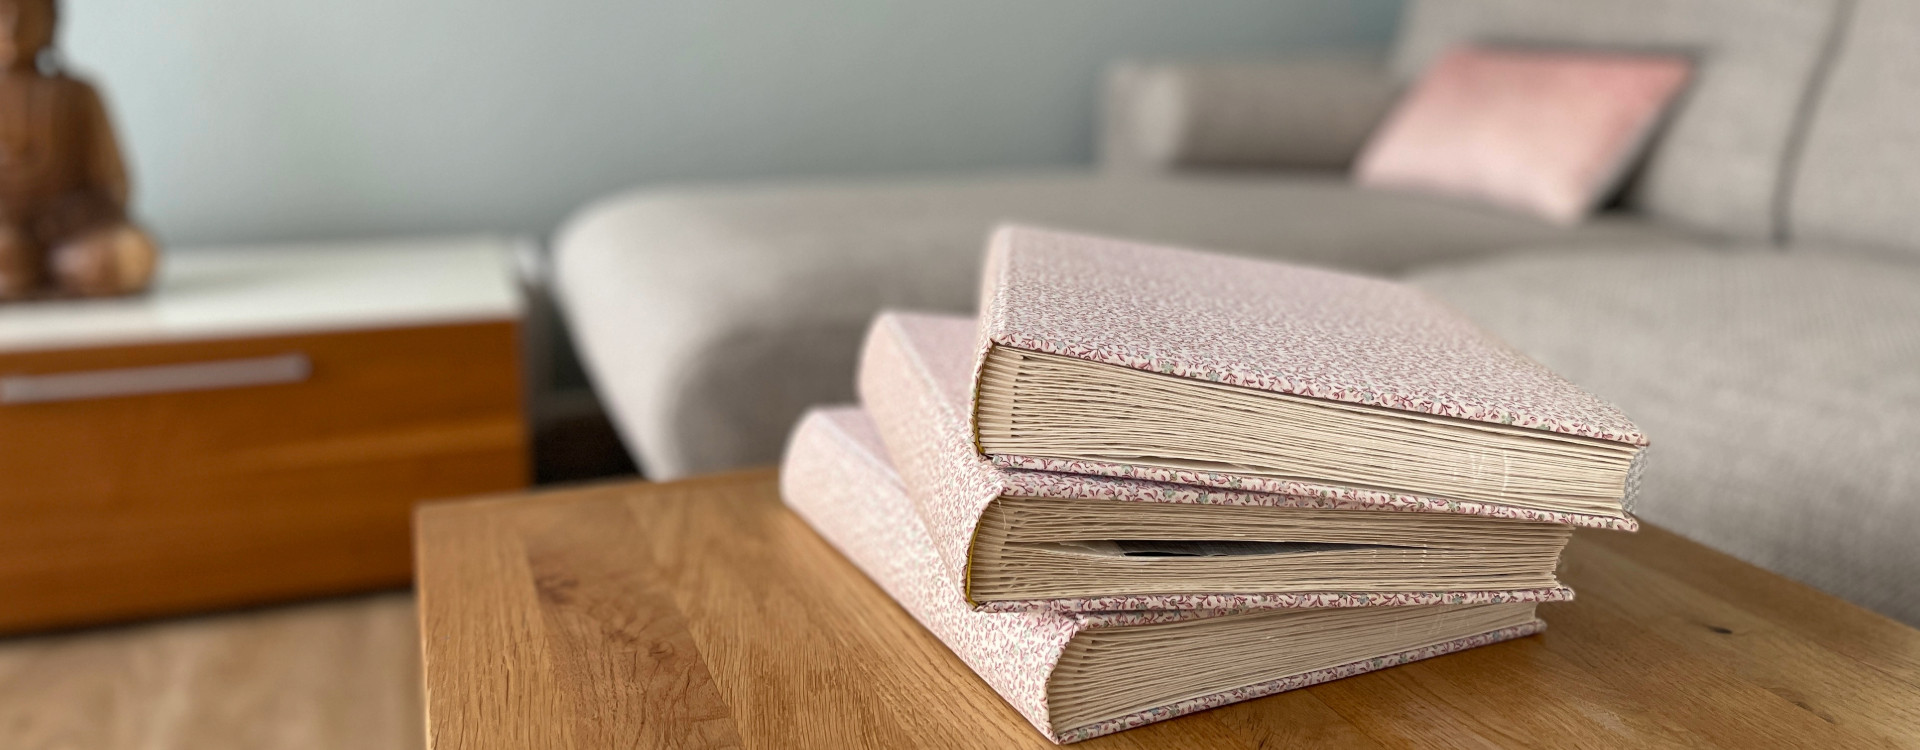
I opted for the Photobook Premium Flat, in a square format of 20.5 x 20.5 cm. I always finish my family photo books with a fabric cover, as this exudes value and longevity. In addition, you are limited to 100 pages per book in this category and therefore have to focus on the selection of Photos.
This Photo book is printed on “Munken Polar” paper, which impressed me with its warm white colour. The uncoated, smooth surface of the paper gives my projects an exclusive yet natural character.
For those who prefer real photo paper, we have the “Photobook Photographic” in the same format with glossy or matt photo paper.
Photo selection in the Bookfactory app: “Set favourites”
Once the book has been configured, work begins in the Bookfactory software.
I prefer to design my projects in the design software because I have more freedom in the design and I can save the projects locally on my computer.
I use the Apple Photos image source to load our shared album “Family” into the Bookfactory software.
Before I start with the actual design of the book, I go through the picture folder again and do another sorting. I set a favourites star for all the Photos that should be in my Photo book.
Once all the favourites have been set (these could of course be Photos from several albums), I navigate back to the overview with all the image folders and go to the favourites folder there. I now only work with this folder.

Simple design: “Less is often more”
When designing, I mostly orientate myself on the suggested grid, which is shown in the background of the double pages. I always leave this grid displayed.
I create templates with empty image boxes and save them. I can then apply these templates to empty double pages and save myself time.

Tips and tricks: “Design element with the pipette”
I like to work with empty image boxes, which I use as a design element. I fill empty image boxes with a colour, paying attention to a striking colour in the photos that is very suitable or even complementary to the rest of the photos. I then apply this colour directly to the empty image box using the pipette function in the software and use the image box as a design element. I think the overall result is definitely impressive. What do you think?

“Less is more”. Make big pictures and play with colours and shapes!
Give it a try! Talk to your family, use the sharing options of the Photos apps on your smartphone, keep working on sorting your photos and get started early. In small steps, you’ll end up with a Photo book by the end of the year that you might never have started otherwise.

Fabian Biondi, Product Owner