
Most of us will return from our summer holidays with hundreds of photos, and although some of them will probably feature on our Instagram or Facebook pages for a while, the majority tend to end up buried somewhere on a memory card or hard drive.
So if you want to keep those glorious summer moments alive and commemorate your family holiday in a special way, why not turn your best holiday photos into photo book?
If you like the idea but aren’t sure how to get started, here are some tips for planning and designing the perfect holiday photo book.
1. Organise your photos

The first step when creating a photo book is to sort through the photos you have. Start by deleting any that aren’t very good, whether they’re overexposed, out of focus, or just poorly composed. You can then create a separate folder where you copy and paste your favourite holiday shots.
Look for the photos that really stand out as being well-lit and well-composed, but also include photos that will give the viewer a sense of what the holiday was like, even if it’s a silly airport selfie.
2. Choose a theme
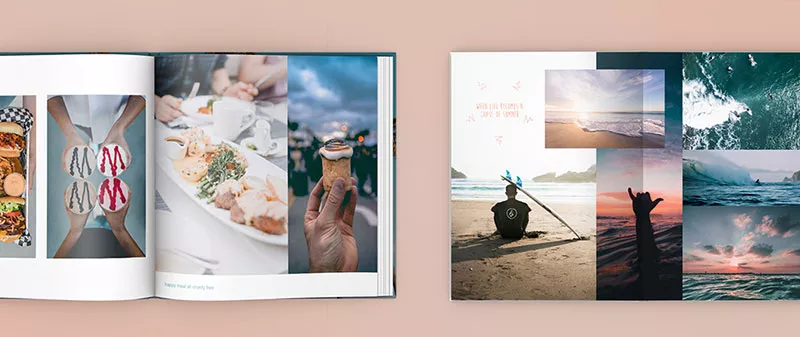
Think of a theme early on and try to stick with it throughout the photo book for uniformity. For example, if you want to include black and white photos, it would probably be better to stick with them throughout the whole book rather than including a mix of colour and black and white photos.
On the other hand, if you’re a foodie, your theme of choice might be “food,” in which case you could include lots of photos that show you and your travel partners enjoying interesting foods during your holiday. Or perhaps your theme is “nature” and every photo you include is somehow related to this.
3. Add captions

Your photo book doesn’t have to include text, but holiday photo books can often benefit from a bit of relevant information. This could be a brief description of the location and date on which the photo was taken, the story behind the photo, or even a poignant quote related to family or travel.
4. Edit the photos in a similar style

Another way to maintain uniformity throughout your holiday photo book is to edit all the photos in a similar style. So once you’ve selected the photos you want to include and copied them into a separate folder, you can work on making sure they all have similar contrast, vibrancy, colour temperature and saturation levels.
If you’re using Adobe Photoshop or Lightroom, you’ll have the option of editing one photo and then applying those presets to other photos taken in similar light conditions. You could also download a filter you like and apply it to all the photos you intend to include in the photo book.
5. Match the colours
Your holiday photo book will be more enjoyable to flip through if the colours match or complement each other. Obviously not all the photos in the book will have the same colours in them, because they’ll depict different scenes at various times of day. But when you include multiple photos per page, it’s a good idea to select photos that are a good colour match for one another.
For example, photos that contain a lot of blue, such as those with a lot of sky or water in them, would go well together on one page, whereas photos with a lot of orange and red in them, such as those taken around sunset, would clash with the blue.
6. Play with different layouts
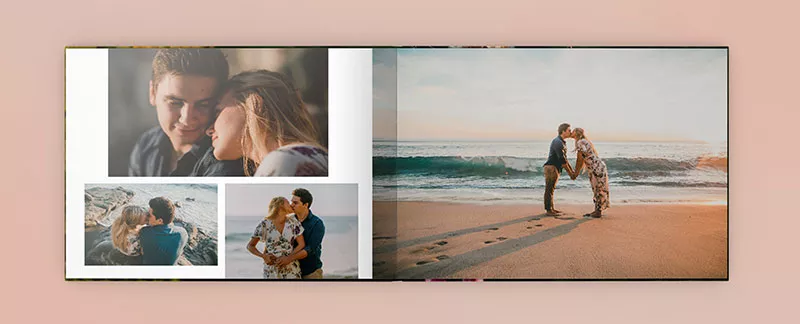
Think about the layout you want to use and play with a few different styles. For example, some photos might work well as a double page spread, whereas on other pages it could be fun to place multiple photos side-by-side or create collages of related photos.
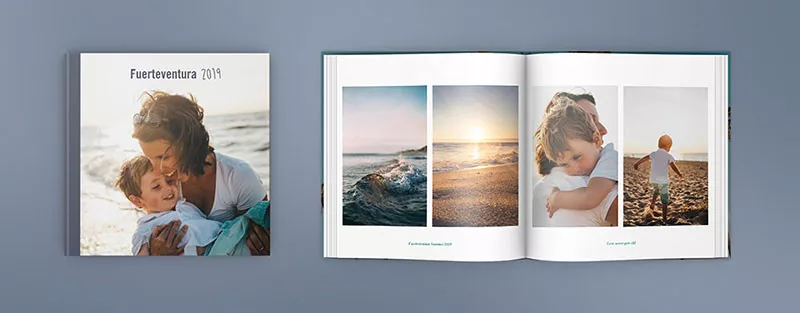
7. Make the cover pop
The cover of your holiday photo album should inspire you to pick up the photo book while also conveying the excitement you feel when you’re just setting out on a journey. The cover photo shouldn’t be too busy or cluttered, as you want it to be eye-catching without distracting from the text or book title you intend include on the front cover.
Examples of strong cover photos include silhouettes, shots of the open road or wide open spaces, or photos that show their subjects looking at something ahead of them with their backs turned to the camera.
We wish you a lot of fun with the creation of your photo book!