
Would you like to create your first photo book, but have never designed one before and are not sure where to start? Don’t worry: Creating a personalised photo book is easier than you might think. You do not need any design experience or special technical knowledge.
In this guide, we show you step by step how to create your first photo book, which product and editor are right for you and where to find help if you get stuck.
How do I create a photo book if I have never made one before?
To create your first photo book, all you initially need is a selection of your favourite photos and a general idea of the story you would like to tell. This could include holiday memories, family moments, wedding photos or the best pictures from an entire year.
You can then proceed in four simple steps:
- Choose a photo book
- Select the right editor
- Design your photo book
- Order your photo book
Step 1: Choose the right photo book
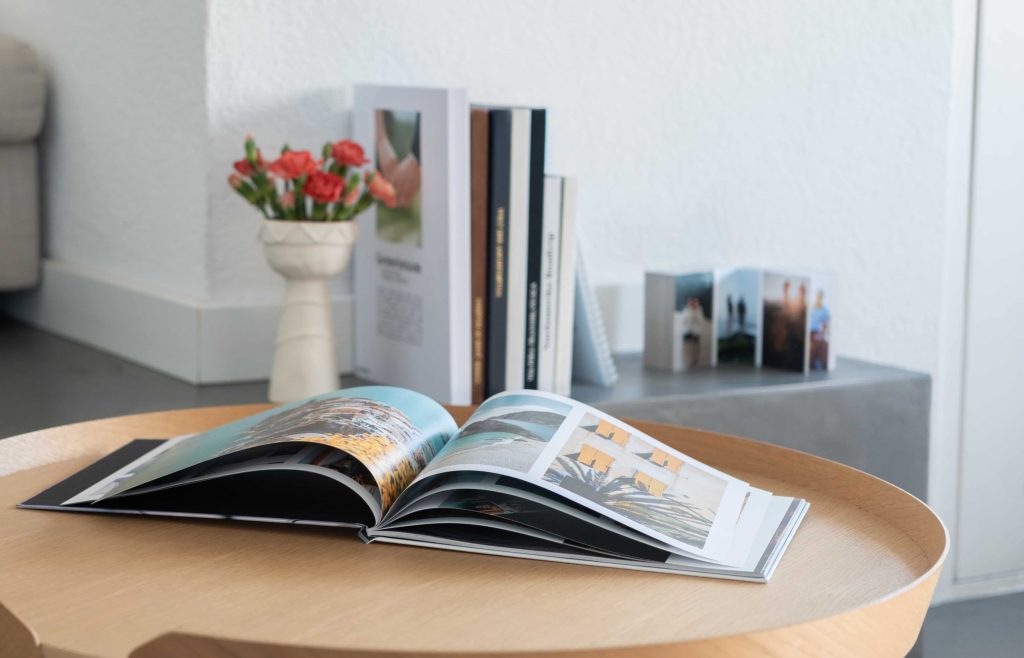
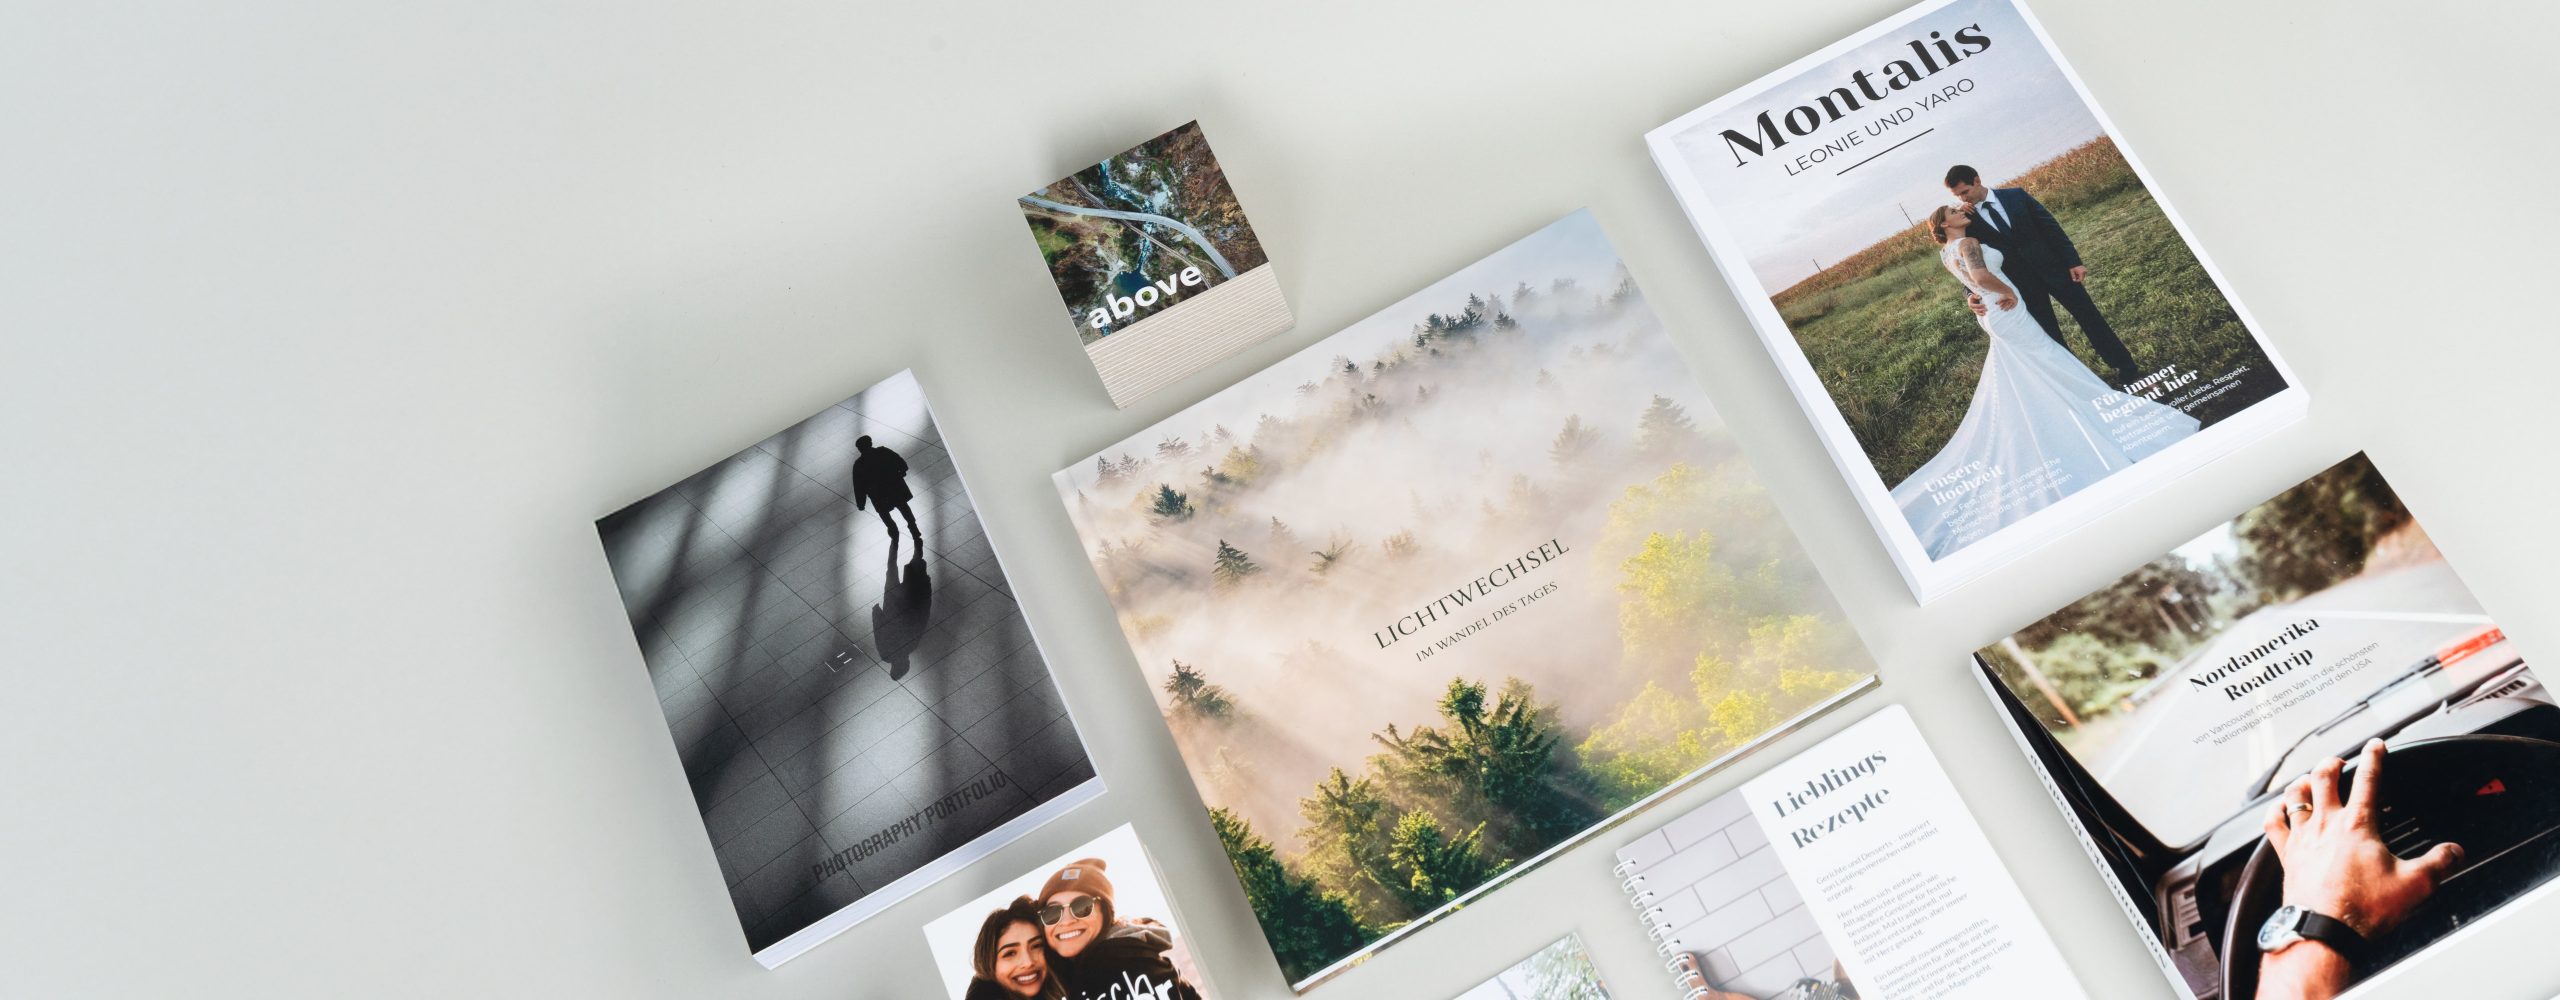
Start by looking at the different photo books, formats and binding types. Think about what you would like to use your photo book for and approximately how many pictures you want to include.
The following questions can help you make your choice:
- Should the photo book be small and handy or large and impressive?
- Would you like to use just a few pictures or a large number of photos?
- Would you like your pictures to extend across an entire double-page spread?
- Do you prefer a classic photo book or a photo book with layflat pages?
- Should your photo book have a hardcover, softcover or another type of cover?
- Would you like a premium cover for your photo book?
A classic hardcover photo book in a medium-sized format is often a good choice for your first photo book. It provides plenty of space for your pictures and is easy to design.
You do not need to decide on every detail straight away. The important thing at first is to choose a format, binding and number of pages that broadly suit your project.
Step 2: Choose the right photo book editor
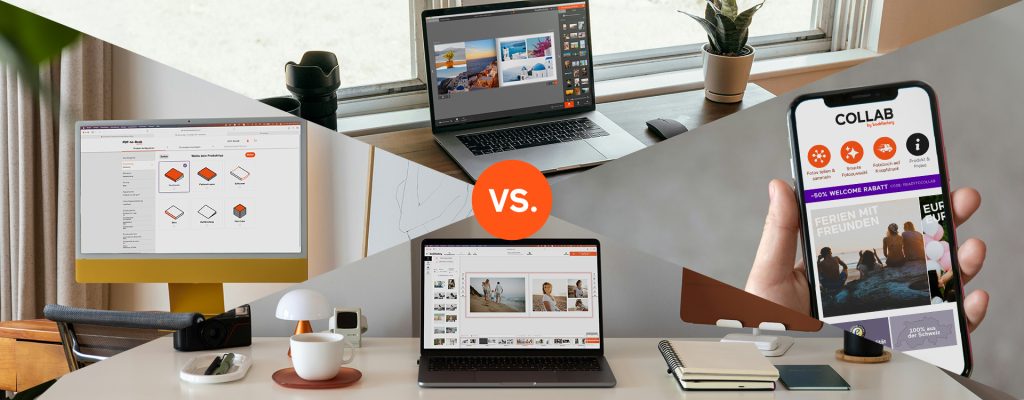
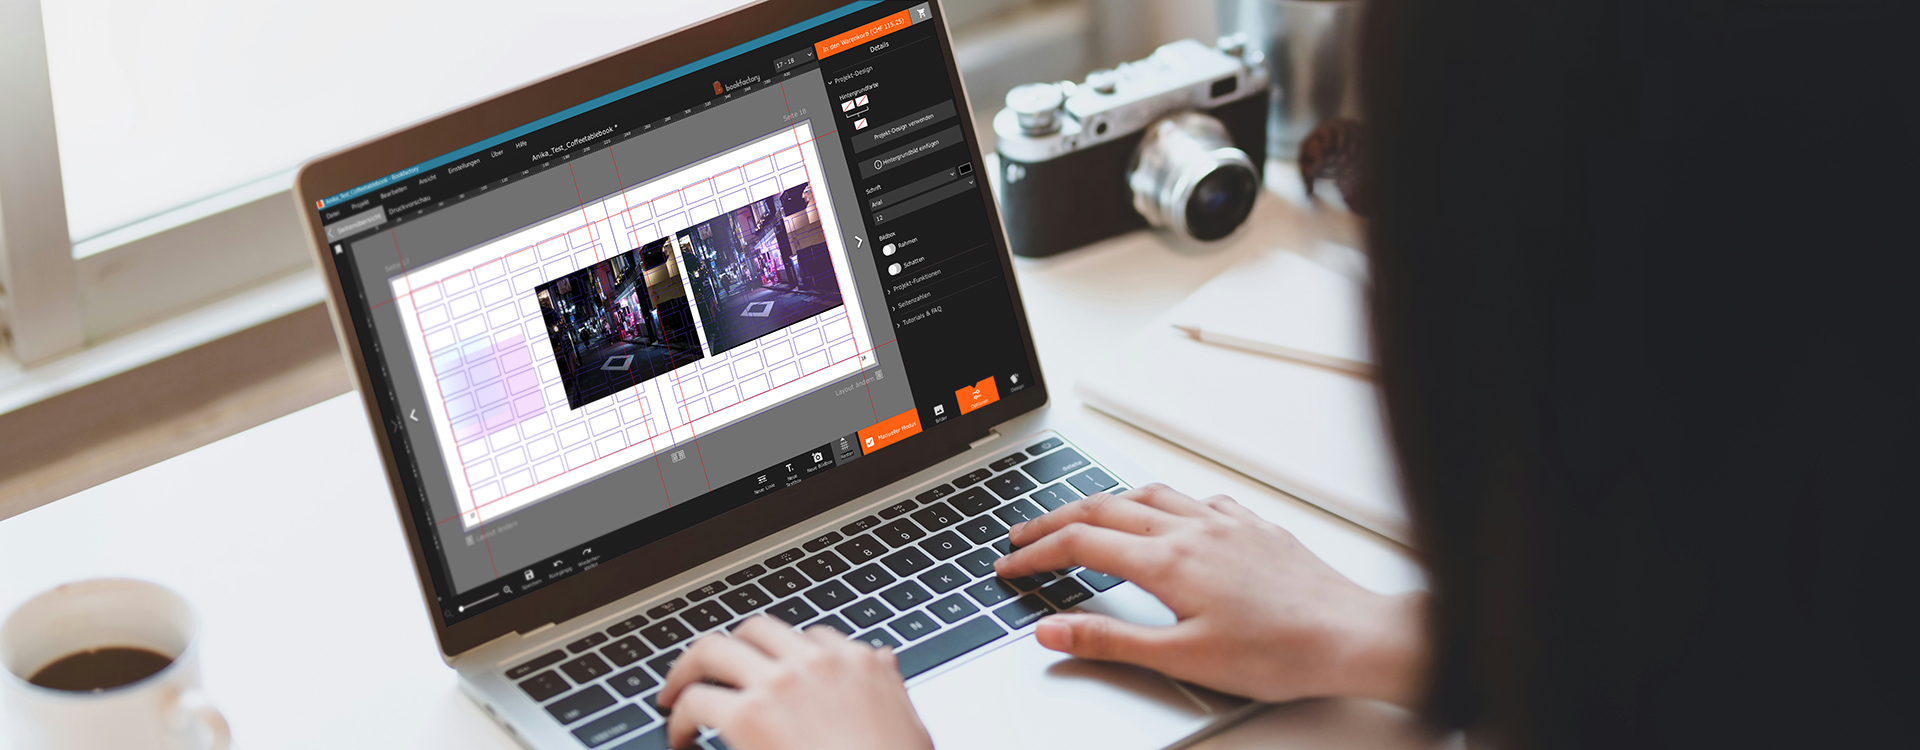
Next, decide which editor you would like to use to design your photo book. Depending on how you prefer to work, you can create your photo book using the Bookfactory Software, the Online Editor, PDF-to-Book or the Collap App.
The Bookfactory Software offers a particularly wide range of design options and is suitable for extensive projects. The Online Editor works directly in your browser and is ideal if you would like to get started without installing anything. The app allows you to create your photo book automatically and conveniently on your smartphone.
Which editor is best for you depends on how individually and elaborately you would like to design your photo book.
You can find a detailed guide to help you decide in our blog post: Which photo book editor is right for me?
Step 3: Design your photo book
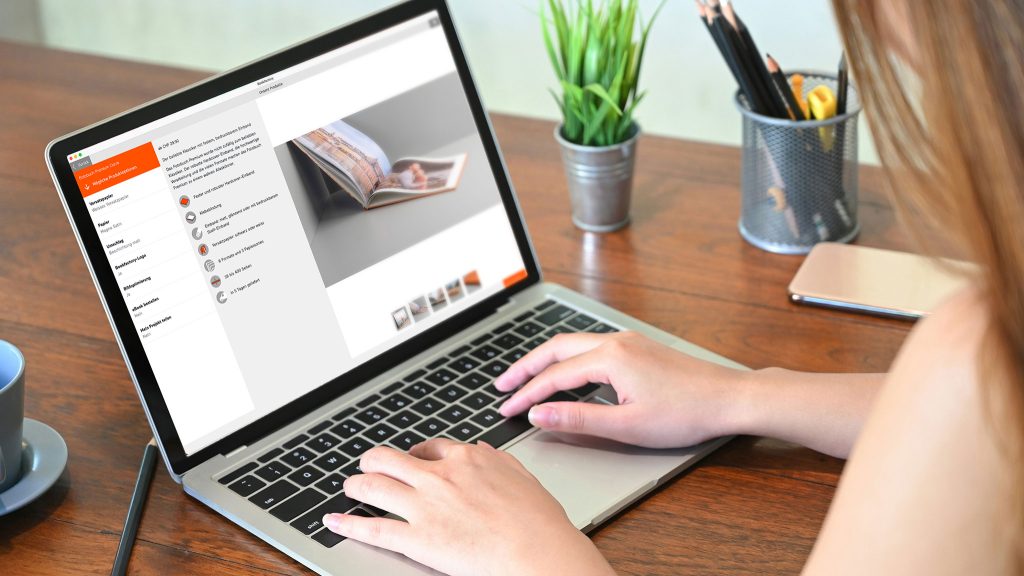
Now the creative part begins. Select your photos and upload them to your chosen editor. Designing your photo book will be particularly easy if you organise your pictures beforehand.
For example, you can create a separate folder for your photo book and save only the photos you would like to use in it. You can also use subfolders to organise them by stage of the journey, event or theme. The photos can be sorted by date in the editor.
Start with a simple structure
Before you start designing, think about a general structure. For example, a photo book about a trip could be organised as follows:
- Title page
- Journey and first day
- Different destinations
- Special experiences
- Favourite pictures
- Final page
You do not need to plan every page in advance. However, a simple sequence will help you keep track of your project.
Place pictures on the pages
Drag your photos into the existing image boxes or add your own image areas. When you are starting out, it is a good idea to use only a few photos per page. This makes the pictures appear larger and keeps the photo book calm and well organised.
Particularly important photos can also fill an entire page or a complete double-page spread.
Make sure that important people, faces and image elements are not positioned too close to the edge of the page or the centre of the book. This prevents important areas from being cropped unfavourably during binding.
Add text
Short captions, locations or personal memories will make your photo book even more individual. A few clear and easy-to-read texts are usually enough.
For example, you could add the following information:
- Place and date
- Names of the people shown
- A short memory
- A personal quote
- A funny anecdote
Where possible, use only one or two easy-to-read fonts and make sure the font size is large enough.
Use templates for an easy design process
If you are unsure about the design, you can use a ready-made design template. The image and text boxes are already arranged in a suitable layout. All you need to do is add your own photos and text.
Templates help you quickly create a harmoniously designed photo book, even if you have no previous experience with layouts or design.
Check your photo book
Before ordering your photo book, you should carefully check every page once again.
In particular, check the following:
- Have all the photos you want been included?
- Are the pictures sharp enough? (300dpi is the ideal resolution)
- Are any warning messages displayed in the editor?
- Are all texts complete and correctly written?
- Are people and important subjects fully visible?
- Are the pages in the correct order?
- Have empty pages been deleted?
It is best to look through your photo book again after taking a short break. A little distance often makes small mistakes easier to spot.
Step 4: Order your photo book and wait for delivery
Once you are happy with your design, add your photo book to the shopping basket. If you do not yet have an account, you will need to register briefly and confirm your registration using the link in the email. You can then log in, check your order, enter the delivery address and select your preferred payment and delivery method.
Our promotions change regularly. If a suitable discount promotion is currently available, you can enter the discount code in the shopping basket.
Once you have completed your order, your data will be transferred to us. Your photo book will then be printed and bound in Switzerland before being sent to you.
All you need now is a little patience until you can hold your self-designed photo book in your hands.
What can I do if I get stuck while creating my photo book?
If you have questions while creating your photo book, you do not have to solve everything on your own. The information and warning messages in the editor or our guides and blog posts can often help:
Getting started with PDF-to-Book
Frequently asked questions & answers
If you are still unable to continue, you can contact our customer service team by email or telephone. Describe as precisely as possible where you need assistance. A screenshot of the relevant page or error message can also be helpful.
Your first photo book does not have to be perfect
When creating your first photo book, you do not need to design every page like a professional. It is much more important to give your personal memories and favourite pictures a beautiful place.
Start with a manageable project, use a simple design and give your pictures enough space. With every photo book you create, you will become more confident and discover new possibilities.
Step by step, you will create a personal photo book that you will enjoy looking through, giving as a gift and taking off the shelf again and again.
Frequently asked questions about creating your first photo book
How do I start my first photo book?
First, choose the right photo book and your preferred editor. Then organise and upload your photos before designing your book page by page.
Which photo book is suitable for beginners?
A hardcover photo book in a medium-sized format is often a good choice for beginners. It provides plenty of space, is versatile and is easy to design.
How many photos do I need for a photo book?
This depends on the number of pages and the design you want. For a clear and well-organised photo book, you can plan to use approximately one to four pictures per page. Important photos can also be placed individually on a page.
Do I need design experience?
No. You can use ready-made layouts and design templates and simply insert your photos into the designated image boxes.
Where can I get help if I experience problems?
If you have any questions, you can use our guides or contact the Bookfactory customer service team by email or telephone. We will be happy to help you with product selection, design, ordering or technical problems.