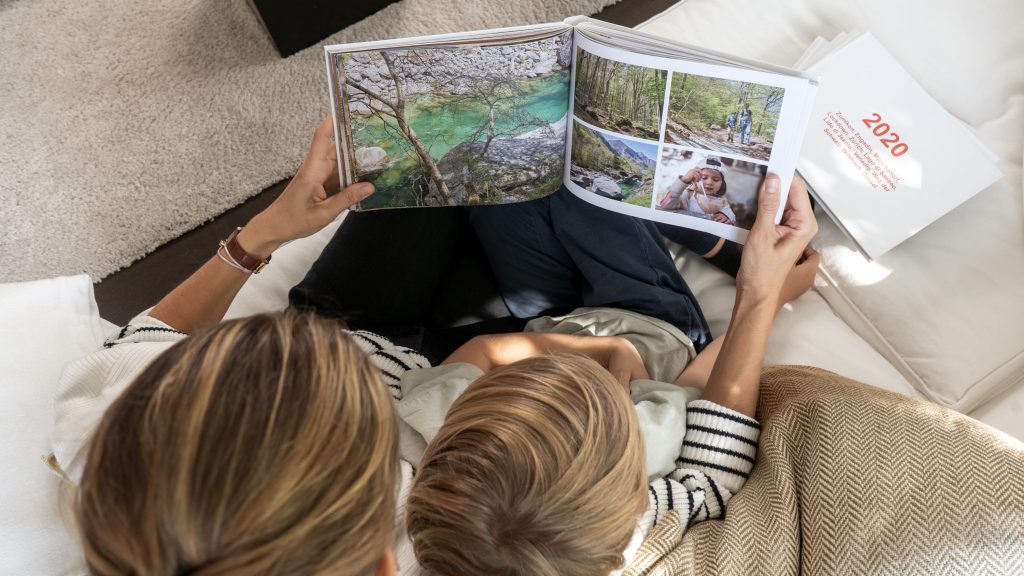
Time flies, and all too often the many big and small moments of the year disappear into the digital photo chaos on our smartphones. A printed year in review feels especially premium and is the perfect way to turn your most treasured memories into something tangible that will last a lifetime. When you design your own yearbook, you not only create a meaningful keepsake for yourself but may also start a lasting family tradition. With the right approach, this project becomes an enjoyable experience rather than a stressful one.
Design Your Yearbook: How to Structure Your Personal Year in Review
Capturing an entire year in a single photo book may seem like a lot of work at first. The secret lies in creating a clear, consistent structure. Once you’ve established a framework, you can reuse it year after year, making each new project quicker and easier to create.
A Chronological Journey Through Your Photo Yearbook
Organise your photo book by month or season. A thoughtfully designed table of contents or a full-page title image at the beginning of each month creates visual structure and guides the reader through your memories with a clear narrative flow, allowing every photo to fit naturally into the story.
A Consistent Layout for Your Yearbook Collection
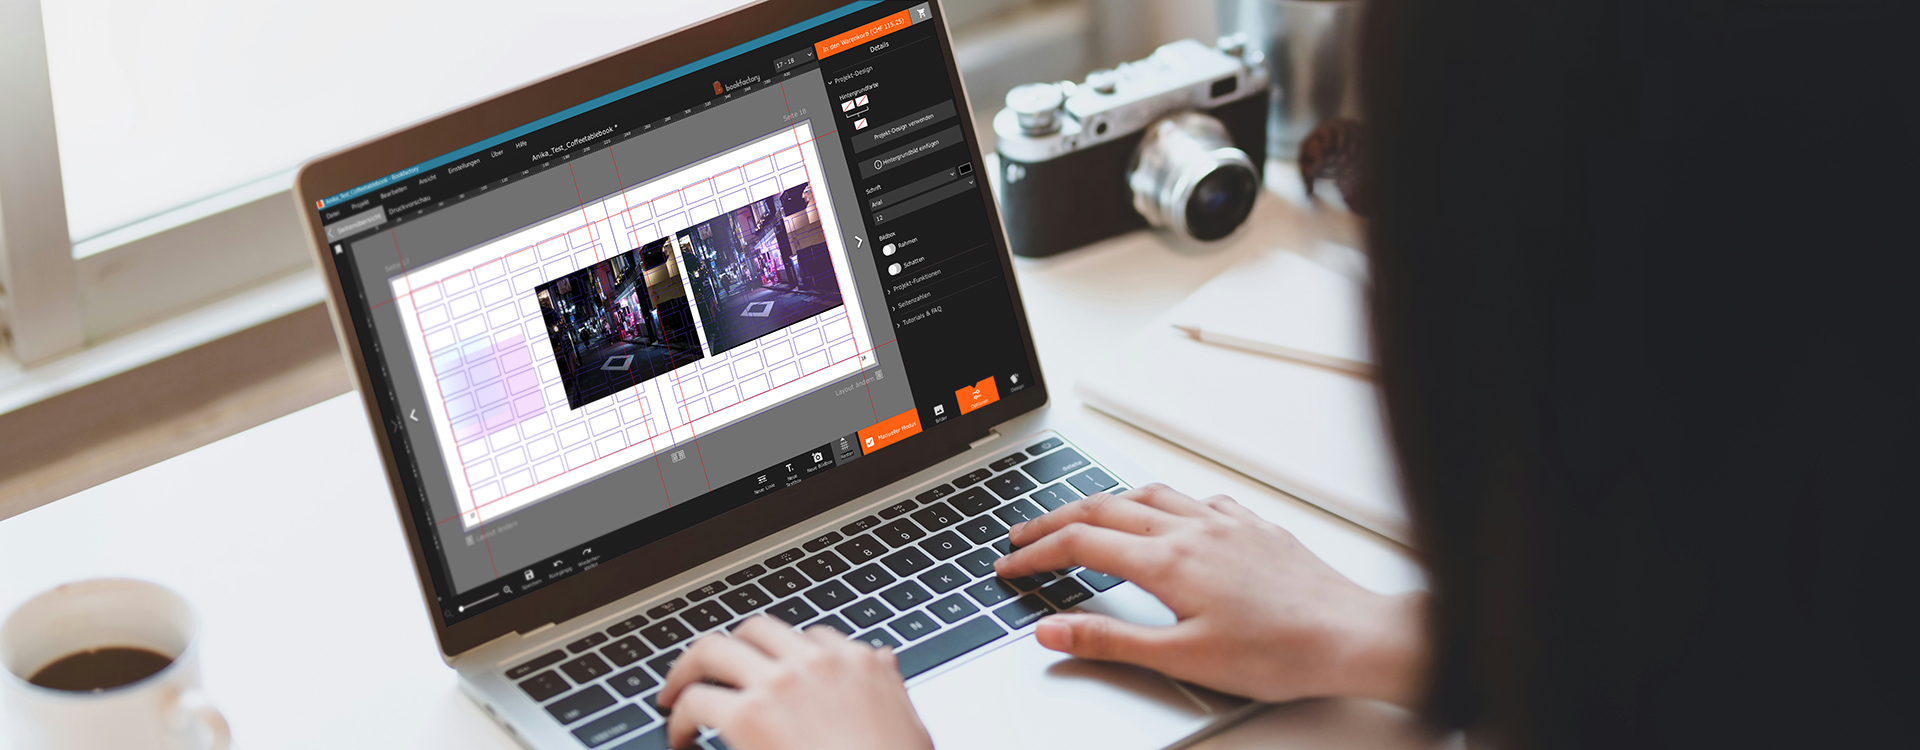
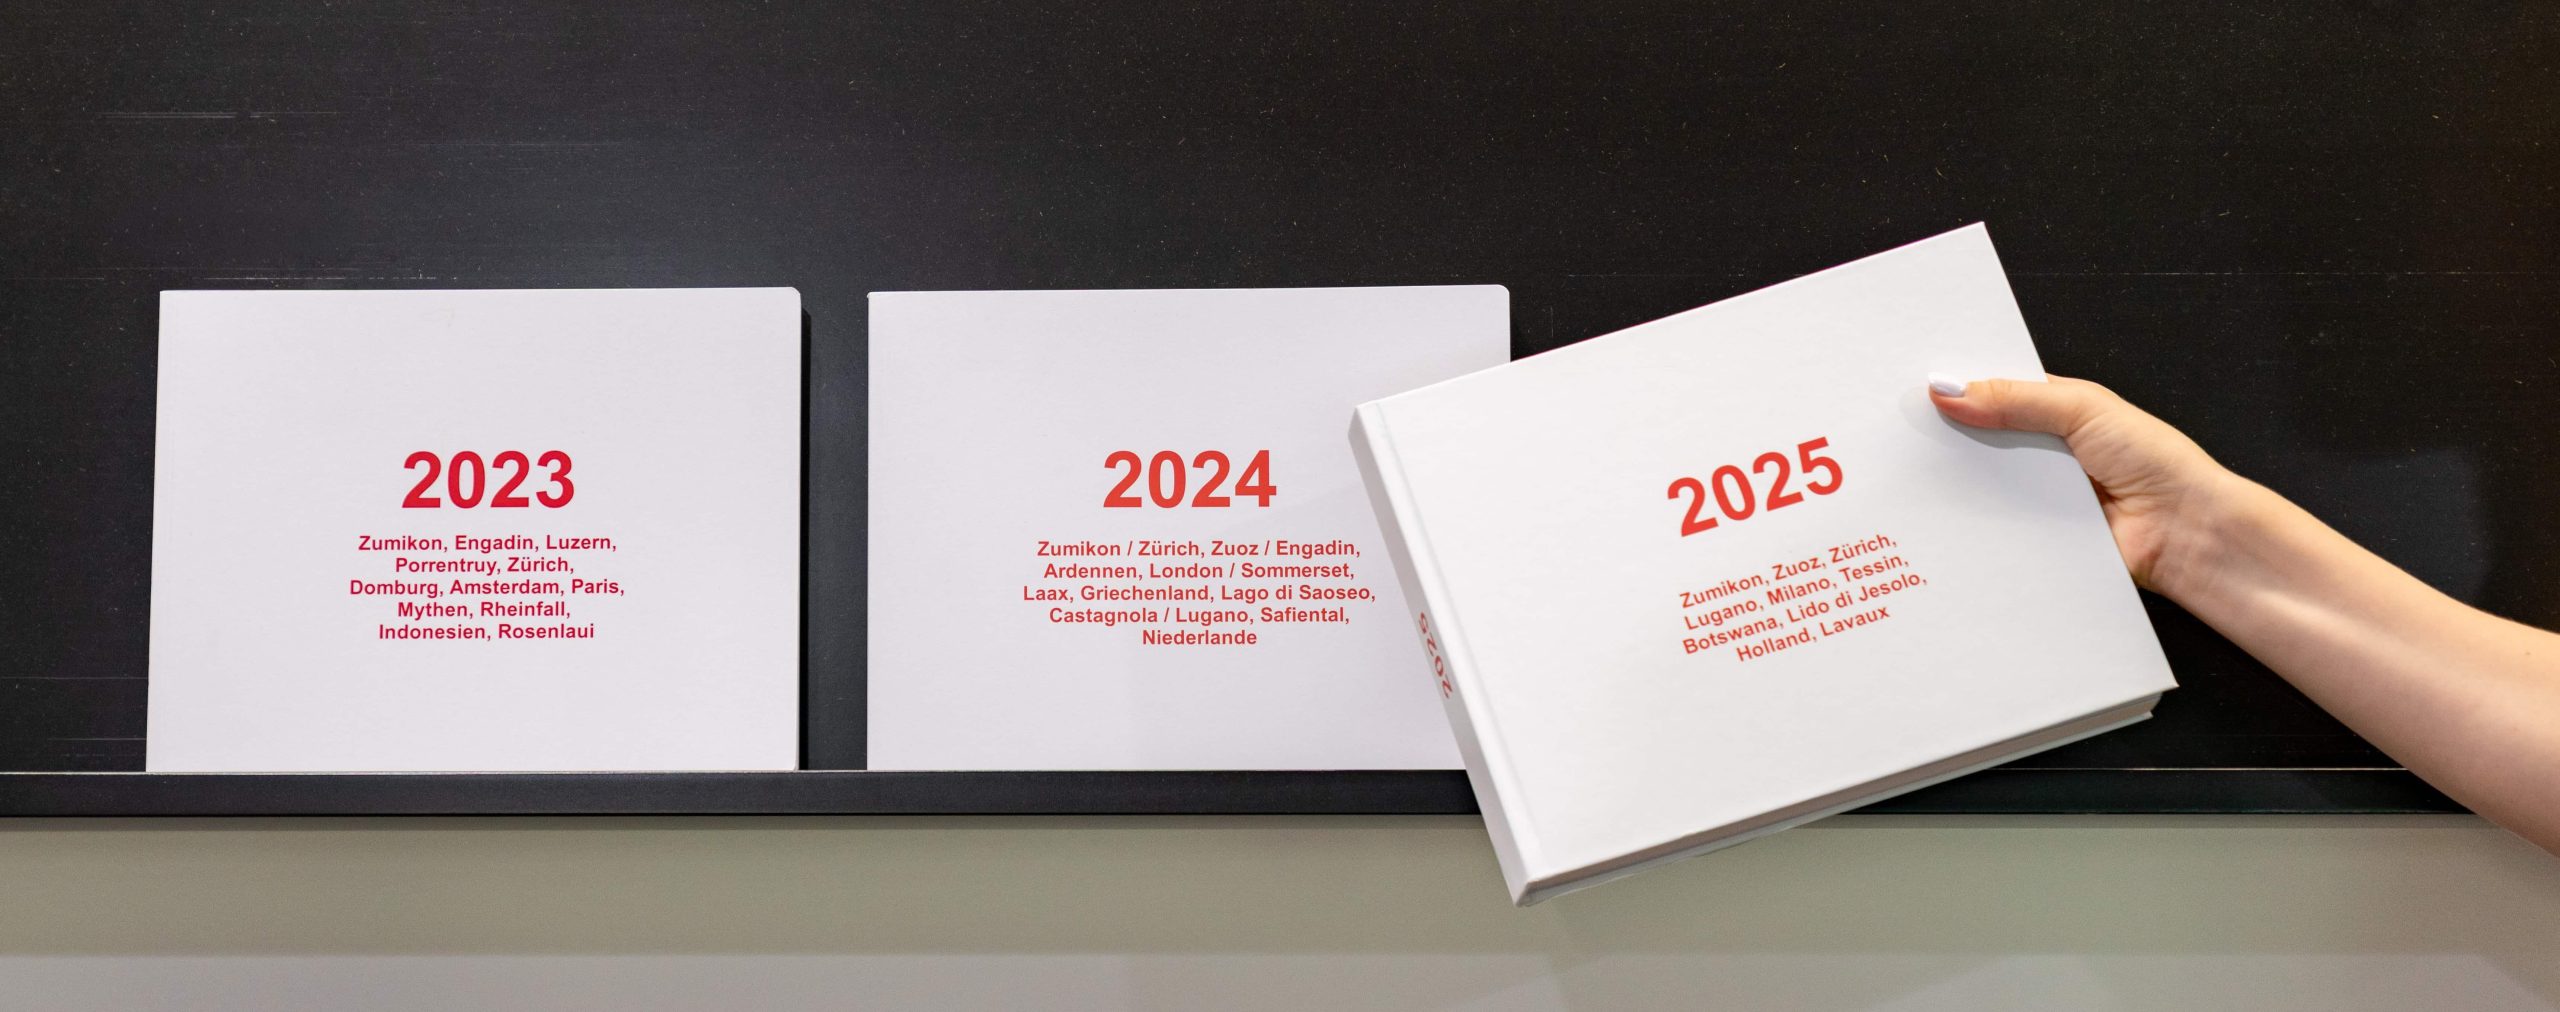
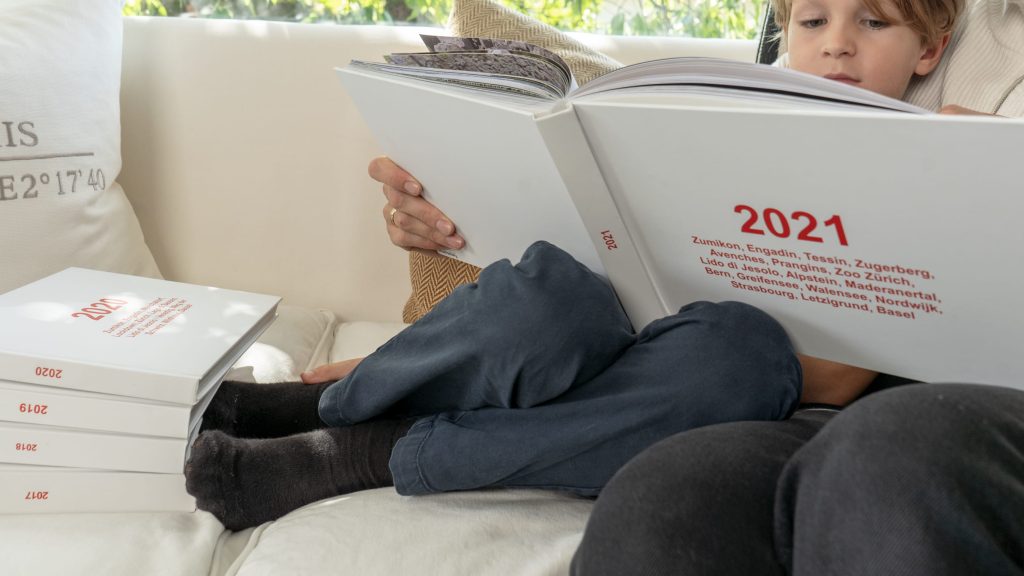
If you plan to print a yearbook every year, maintaining a consistent design is essential. The easiest way to achieve this is by working with a saved project template in your design software. Define fixed fonts for headings and body text, choose harmonious background colours, and create standard image layouts. For example, you could always feature one full-page highlight image on the left and a grid of four smaller photos on the right. This creates a calm, balanced rhythm throughout your books. Simply duplicate the template each year and update it with your latest memories.
Don’t want to create your own template from scratch? One of our downloadable project templates might be exactly what you’re looking for! You can apply all of the following tips while saving yourself the design work. Of course, you can also customise the template however you like.
Preparation Is Everything: Collect Your Photos Stress-Free
The biggest mistake when creating a photo book is waiting until the end of the year to sort through thousands of unsorted images. Instead, develop a simple routine. Create a dedicated folder on your smartphone or computer for your yearbook. At the end of each month, spend just ten minutes reviewing your photos and move your favourites directly into that folder. By the time you’re ready to create your book, you’ll already have a carefully curated selection.
Selecting Your Photos: Choosing the Year’s Best Moments
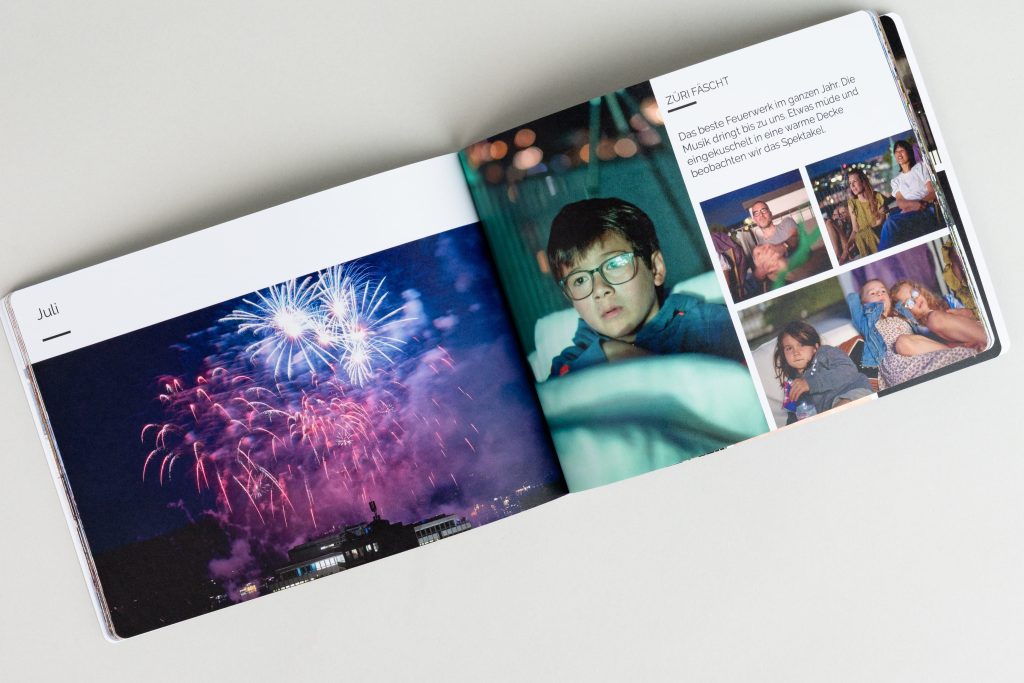
How do you choose the best photos from an entire year? Focus on quality over quantity. One powerful, emotional image often tells a stronger story than ten similar shots taken from the same angle. Being selective is the secret to creating a professional-looking layout. How many photos per month are ideal? That depends on the total number of pages, but a good guideline is 10 to 20 standout images per month. Quieter months may only need three to five memorable photos, while summer holidays or major celebrations can naturally take up more space. The most important thing is to avoid overcrowded pages—give your chosen images room to breathe.
Bring Memories to Life with Short Texts
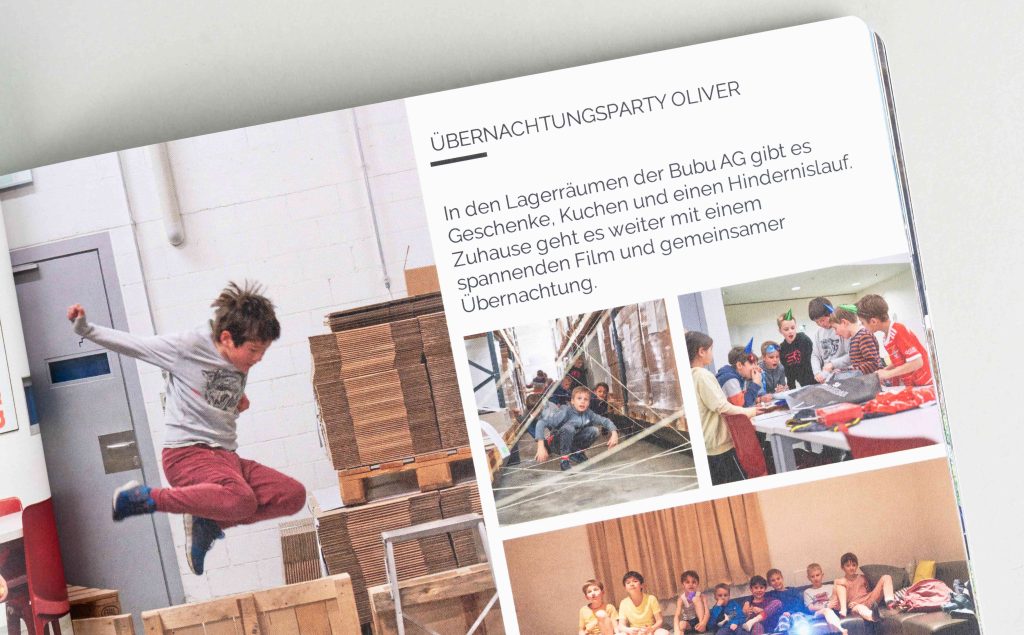
Photos capture the visual moment, but short anecdotes instantly bring back the emotions behind them. You don’t need to write lengthy stories to enrich your photo book. Often, one or two sentences are enough to preserve the atmosphere. Note the date, the occasion, the location, or a funny quote someone said that day. Use brief captions or dedicate a small introductory page to each month featuring its three most memorable highlights in bullet-point form. The result is a truly personal yearbook that friends and family will enjoy looking through for years to come.
Frequently Asked Questions (FAQ)
Which format is best for an ongoing yearly photo book?
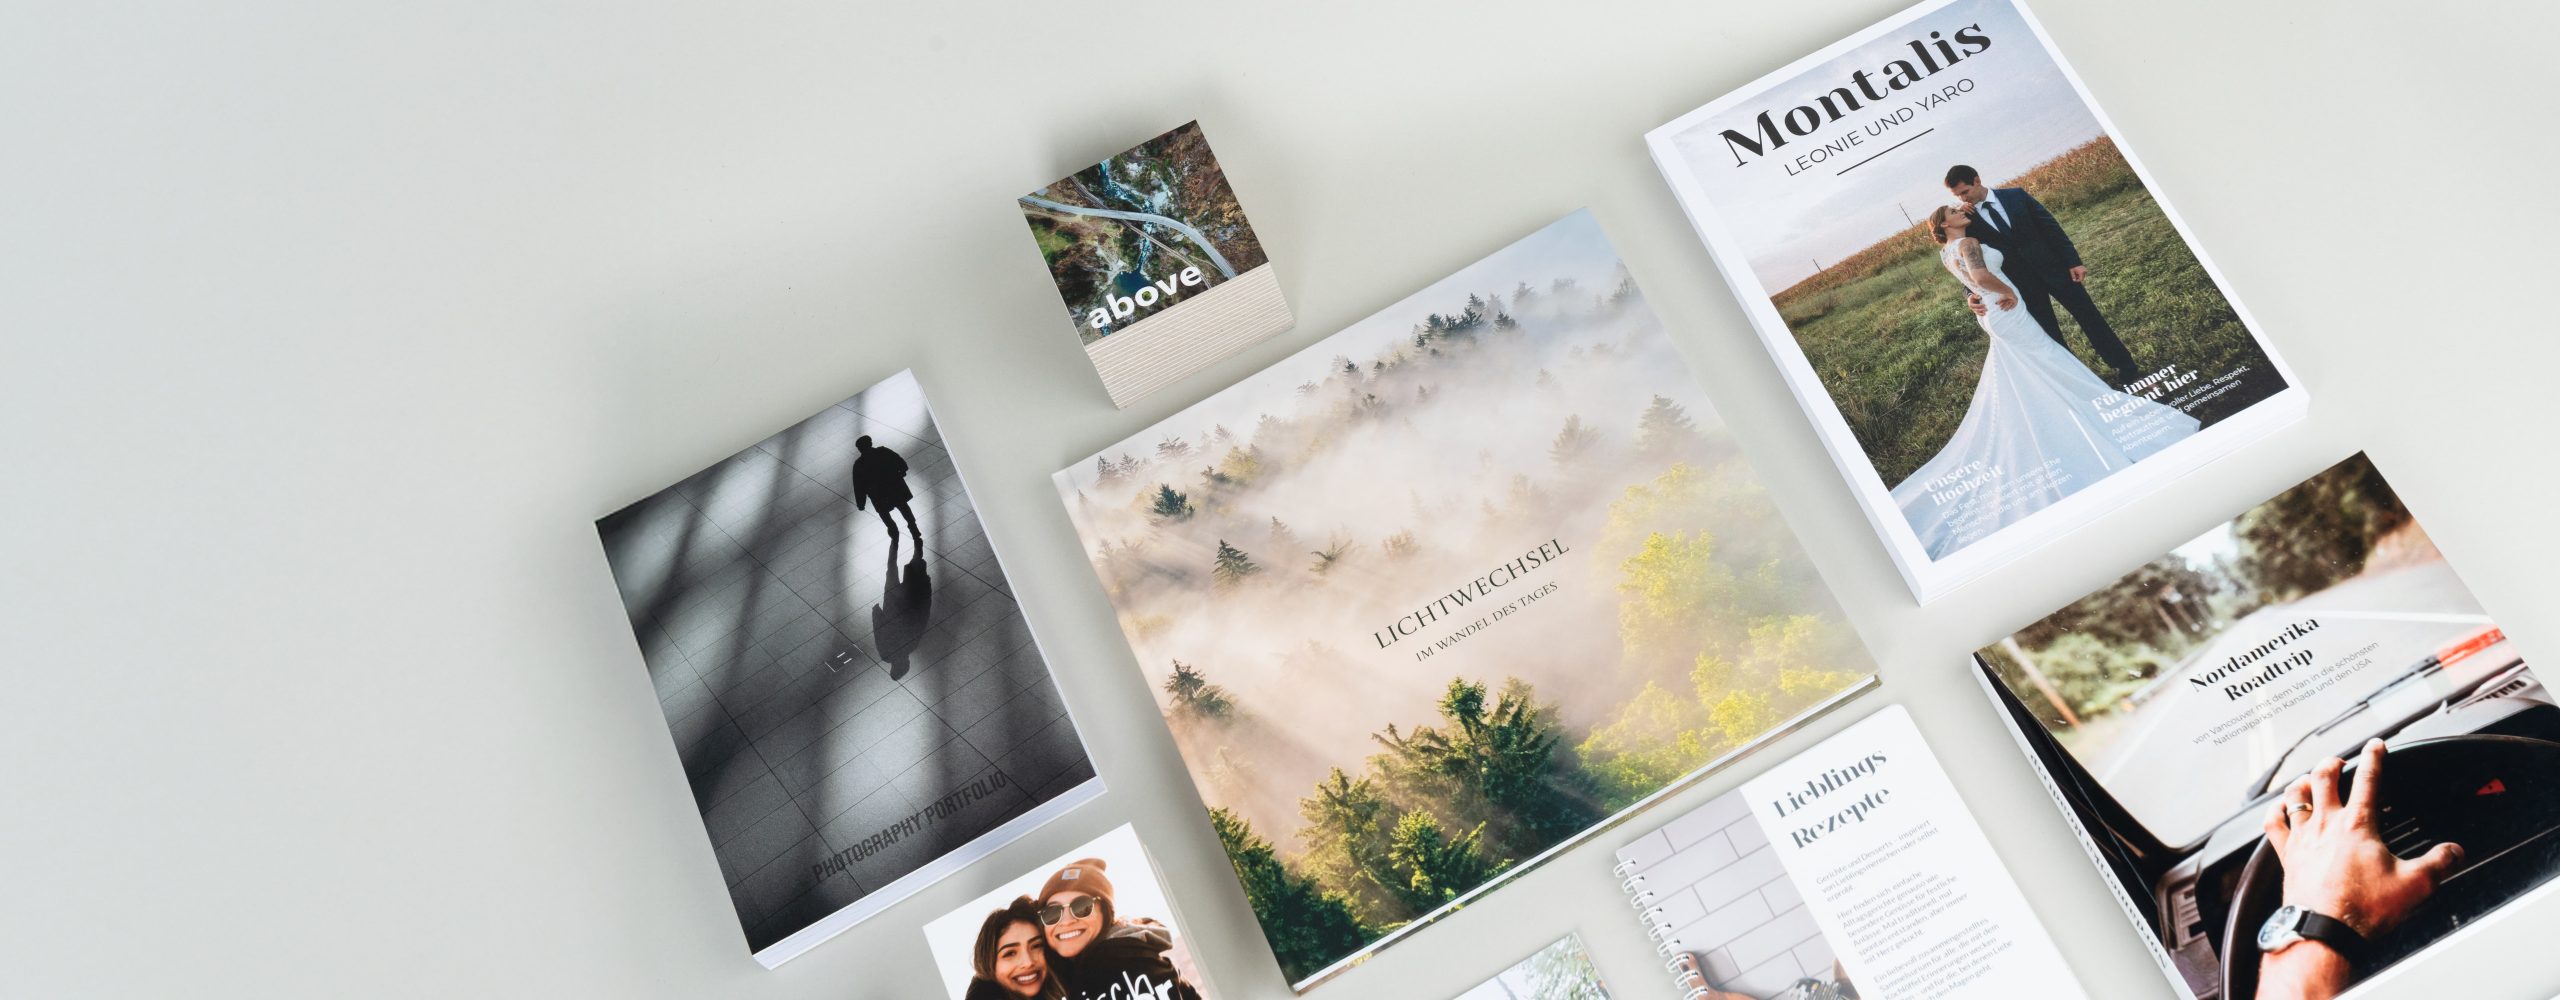
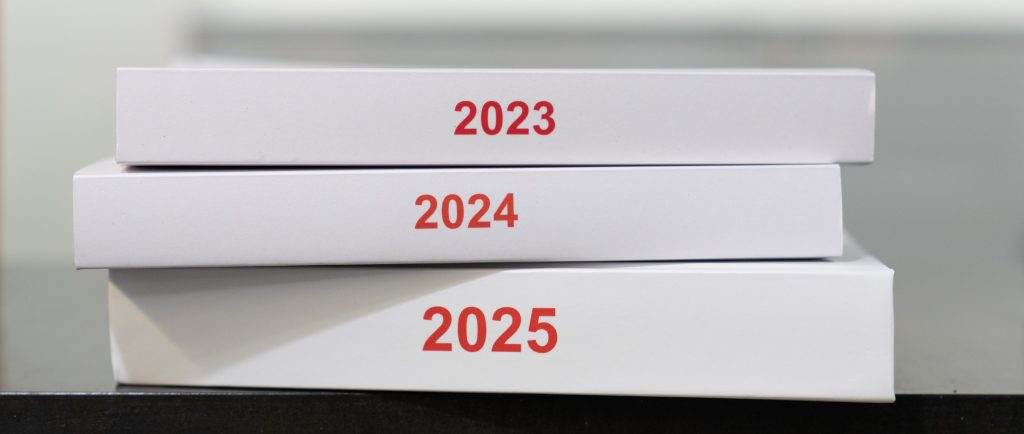
An A4 portrait or a large square format (such as 20.5 × 20.5 cm or 30 × 29.4 cm) is ideal for yearbooks. Both formats provide plenty of space for a varied mix of portrait and landscape images, short text sections, and a consistent cover design that looks beautiful as a collection on your bookshelf.
What image resolution do I need for high-quality printing?
For crisp, high-quality print results, your photos should ideally have a resolution of 300 dpi. Be particularly careful with images shared through messaging apps, as they are often heavily compressed during transfer.
Which paper type is best for a photo book with my own pictures?
This largely comes down to personal preference. Matte photo paper offers minimal reflections, a premium feel, and comfortable viewing, even under bright reading lights in the evening. If you’re looking for an even more exclusive finish, choose a photo book printed on genuine photographic paper. It delivers brilliant colours, exceptional detail, and an outstanding premium appearance. A glossy paper finish, on the other hand, enhances colour vibrancy and increases contrast.