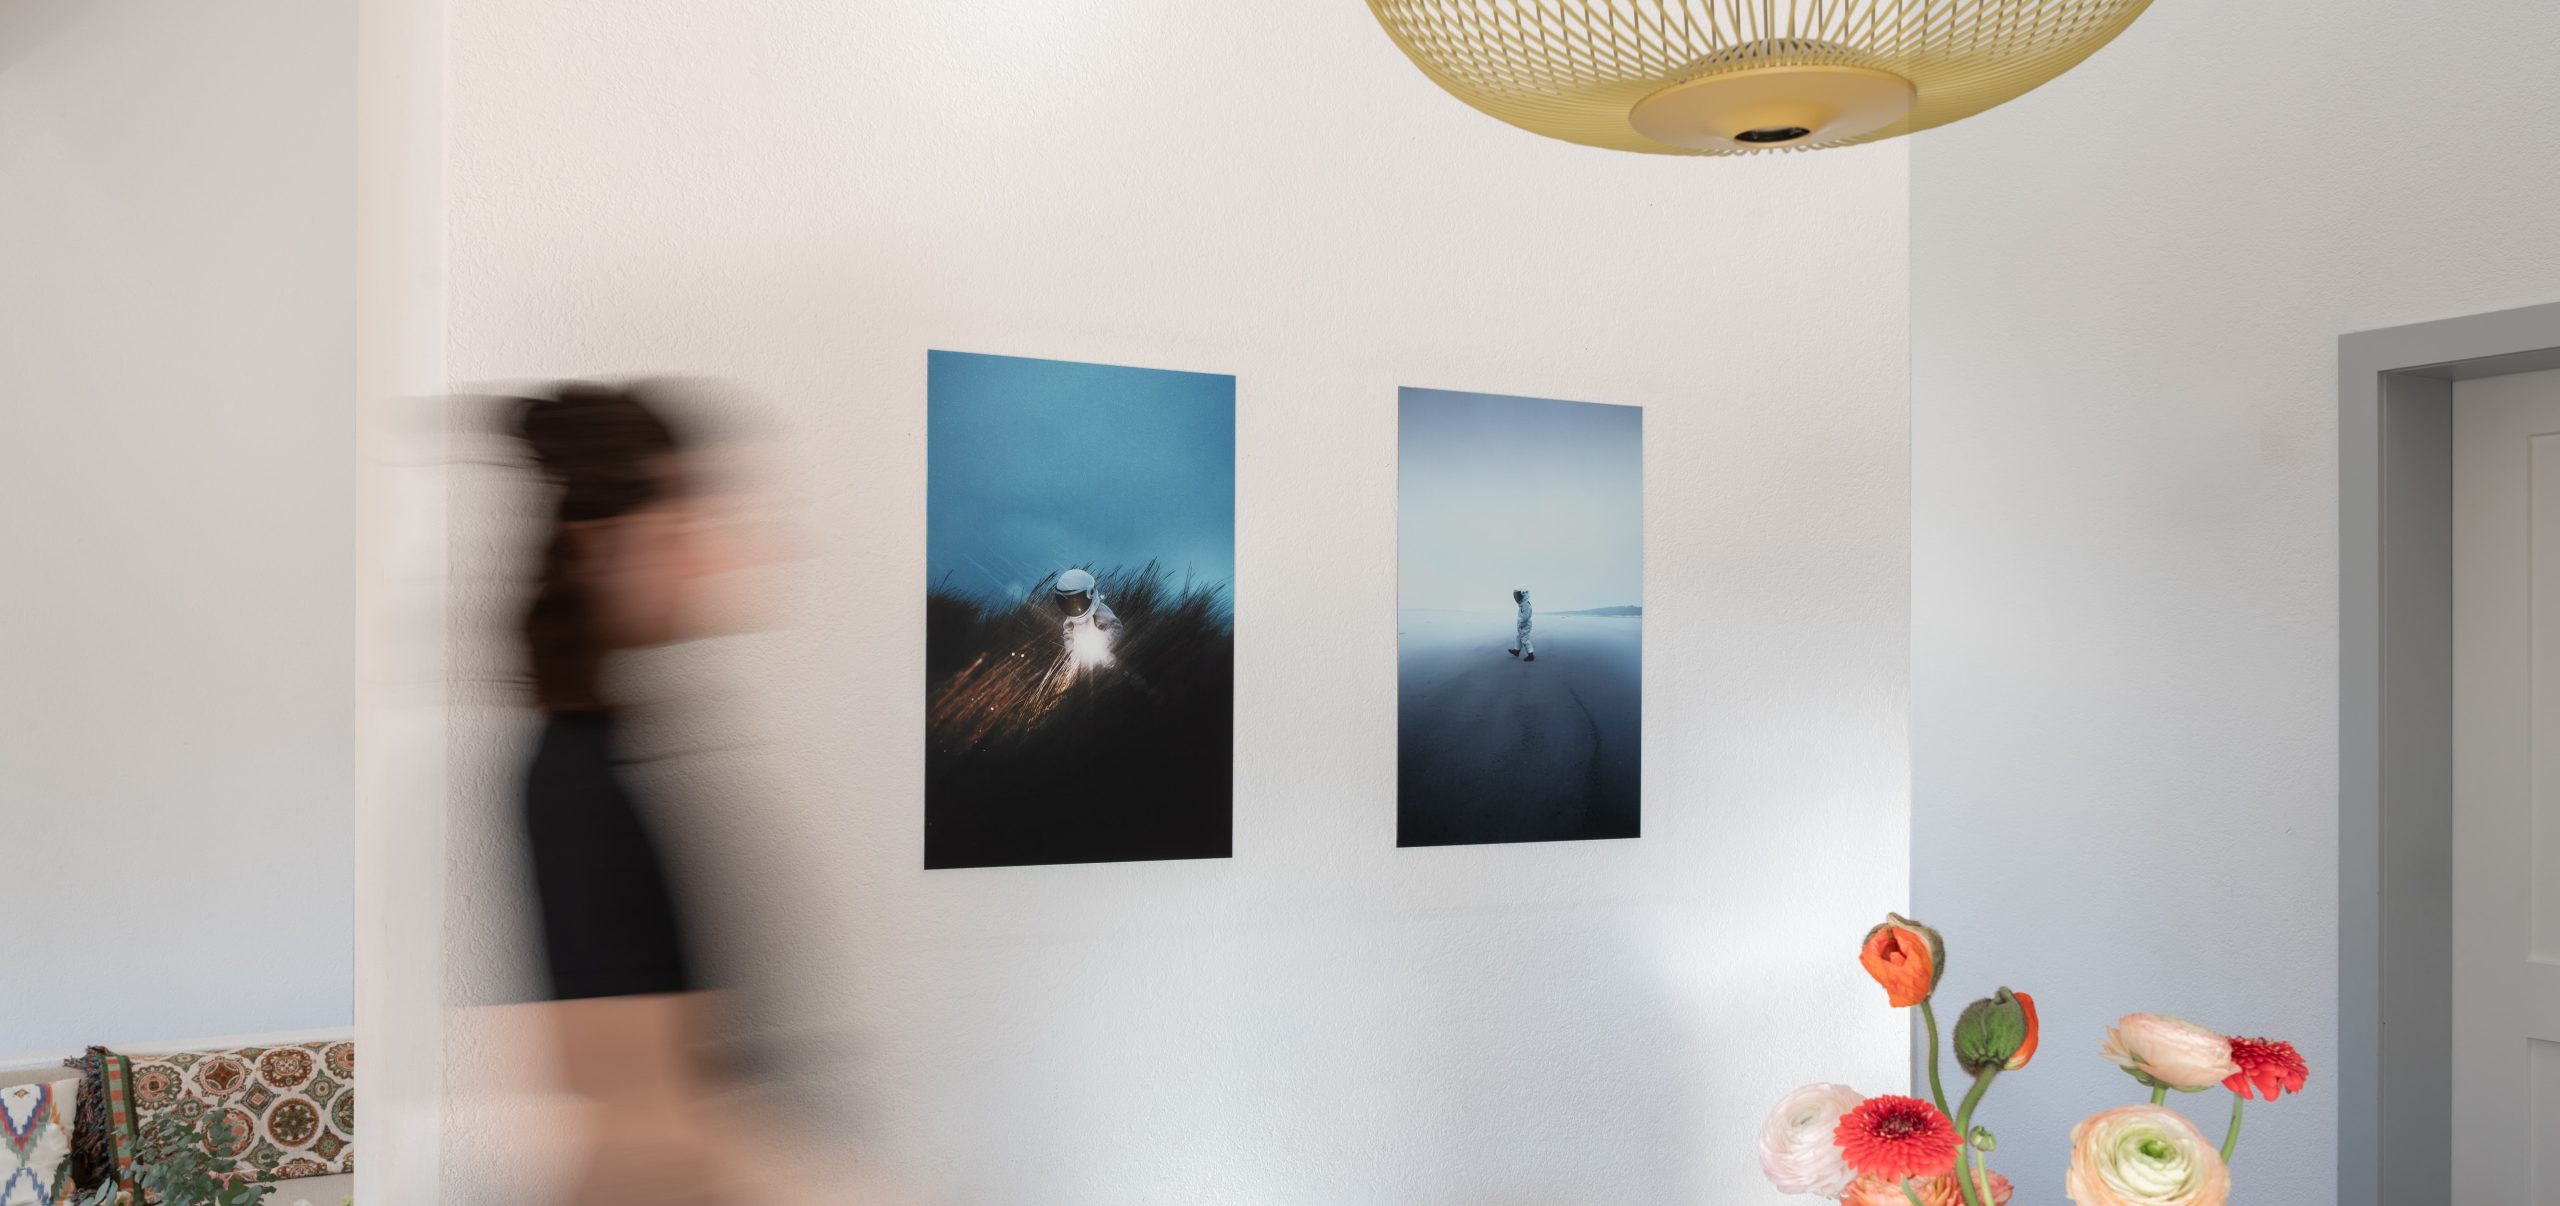
Finding your way to your own photography exhibition is a significant milestone for professional photographers. However, creating a stunning digital image alone is not enough to captivate visitors. The physical presentation, from a perfectly prepared file to the final mounted wall art complete with a sturdy screw-free aluminium hanging system on the back, plays a decisive role in the overall impact of your exhibition space. By preparing your photographs both technically and creatively while considering the exhibition environment, you elevate your work to a professional level and create an unforgettable experience for your visitors.
Technical and Creative Preparation for the Perfect Gallery Print
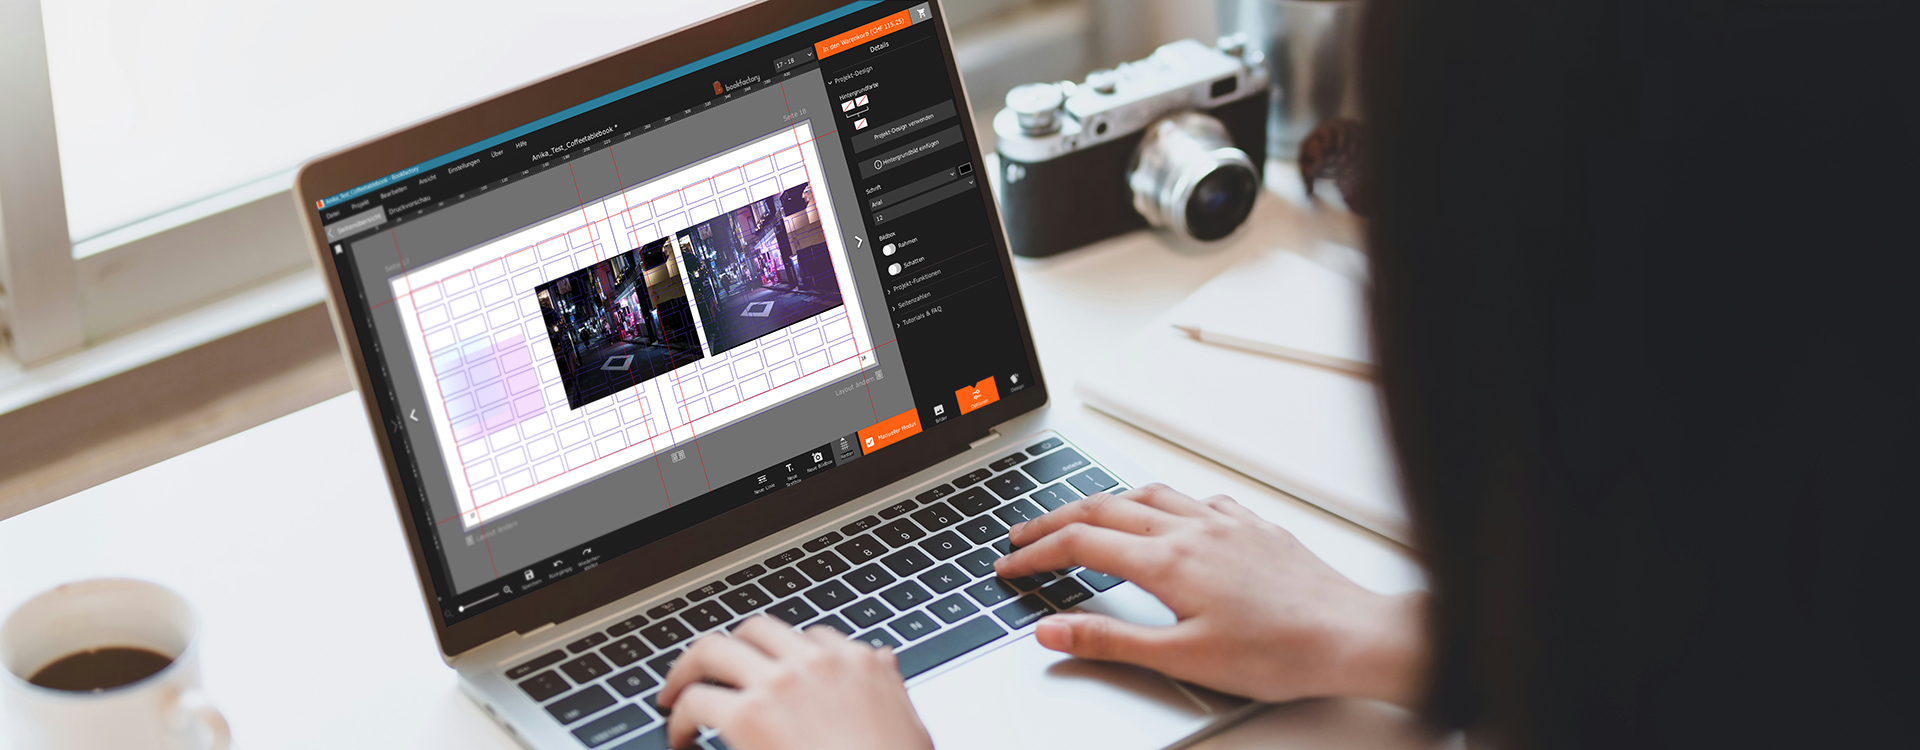
If you are planning a photography or art exhibition and want to print your work, quality control begins long before the actual printing process. For large-format wall art that meets gallery standards, the image quality of the original file must be absolutely flawless. A high resolution of ideally 300 dpi at the final print size is essential to ensure razor-sharp details, even when viewed up close.
Pay particular attention to the following aspects during post-processing:
- Noise reduction: Image noise becomes highly visible when enlarged to large formats.
- Selective sharpening: Sharpen only the important edges to avoid unnatural-looking outlines.
- Colour management: A calibrated monitor is essential to ensure that your images are printed with the colours you intended.
When planning your exhibition, avoid simply displaying a collection of unrelated images. Instead, curate a cohesive series connected through colour, theme or a consistent visual narrative.
Canvas, Materials and Visual Impact: Which Option Looks Most Premium?
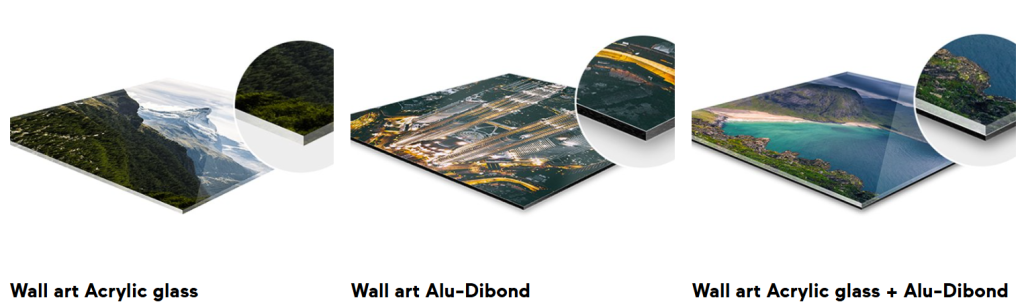
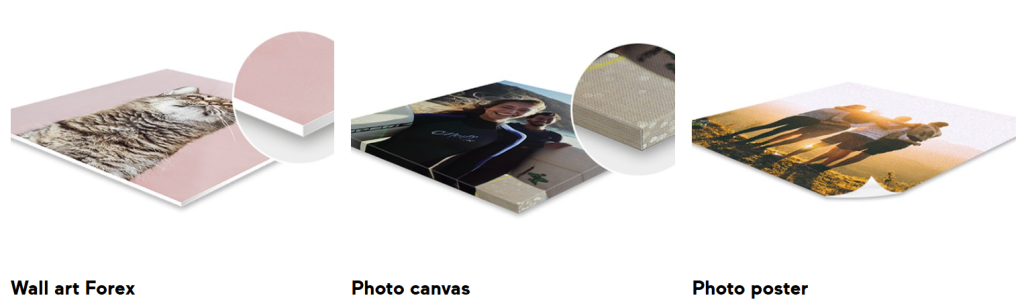
The choice of printing material, such as a printed canvas, has a major influence on the depth, contrast, gloss and surface texture of your artwork. There is no universal “better” or “worse” option—only the material that best complements and enhances your unique artistic vision. By choosing a professional gallery print, you combine outstanding colour brilliance with exceptional durability.
Acrylic glass mounting dramatically enhances contrast and makes colours appear incredibly vibrant. This technique adds remarkable visual depth, making it particularly impressive for modern architectural photography, colourful landscapes and high-contrast black-and-white images.
Matte finishes, such as UV direct printing on a 2 mm aluminium Dibond panel, minimise reflections to an absolute minimum. This gives exhibition pieces a clean, understated and almost painterly appearance. Matte prints are especially elegant for portraits, fine art photography and images featuring delicate textures.
Space, Lighting and Formats: Creating a Professional Gallery Display
Which Sizes Work Best in Gallery Spaces?
In spacious, well-lit galleries, prints that are too small can easily disappear. Large-format prints immediately attract attention and serve as visual anchor points throughout your exhibition. A great approach is to combine two or three of these “hero shots” with medium-sized prints to create a dynamic and engaging rhythm across the gallery walls.
The Ideal Hanging Height and Lighting for Your Wall Art
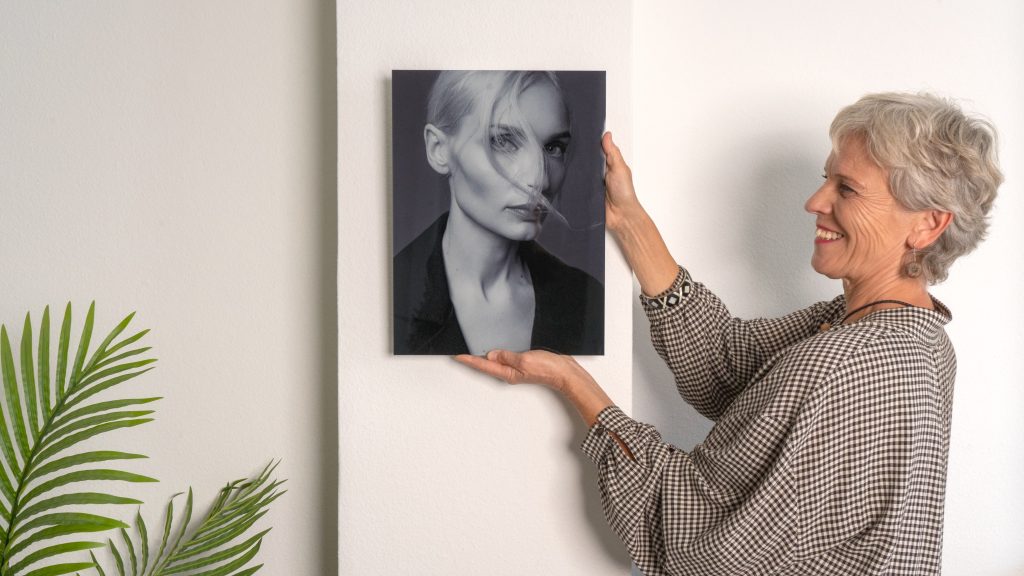
Whether mounted on aluminium Dibond or displayed in an elegant picture frame, your wall art should always be hung at eye level for a professional exhibition. The standard museum height places the centre of the artwork between 145 and 155 cm above the floor, depending on its size. Also leave enough breathing space between individual pieces. Hanging artworks too closely together creates visual competition and overwhelms the viewer. A precisely aligned linear arrangement creates a calm appearance and directs complete attention to each individual artwork.
Finally, lighting has a tremendous impact on how artwork is perceived. Carefully positioned warm or cool white spotlights enhance the brilliance of every print. For highly reflective surfaces, such as acrylic glass, pay particular attention to the angle of the light. Position your lighting carefully to avoid distracting reflections. Take the next step and transform your carefully prepared digital masterpieces into tangible works of art that fill the room.
Frequently Asked Questions (FAQ)
Which colour profile should I use when exporting my final print files?
For most professional printing processes, sRGB is the safest choice, as it provides a sufficiently large and standardised colour space that helps prevent colour inconsistencies during printing.
How can I safely transport large-format wall art to an exhibition venue?
Always protect the corners with dedicated foam corner protectors and wrap your artwork securely in bubble wrap. Make sure the smooth side always faces the artwork to prevent permanent marks or impressions on the delicate surface.