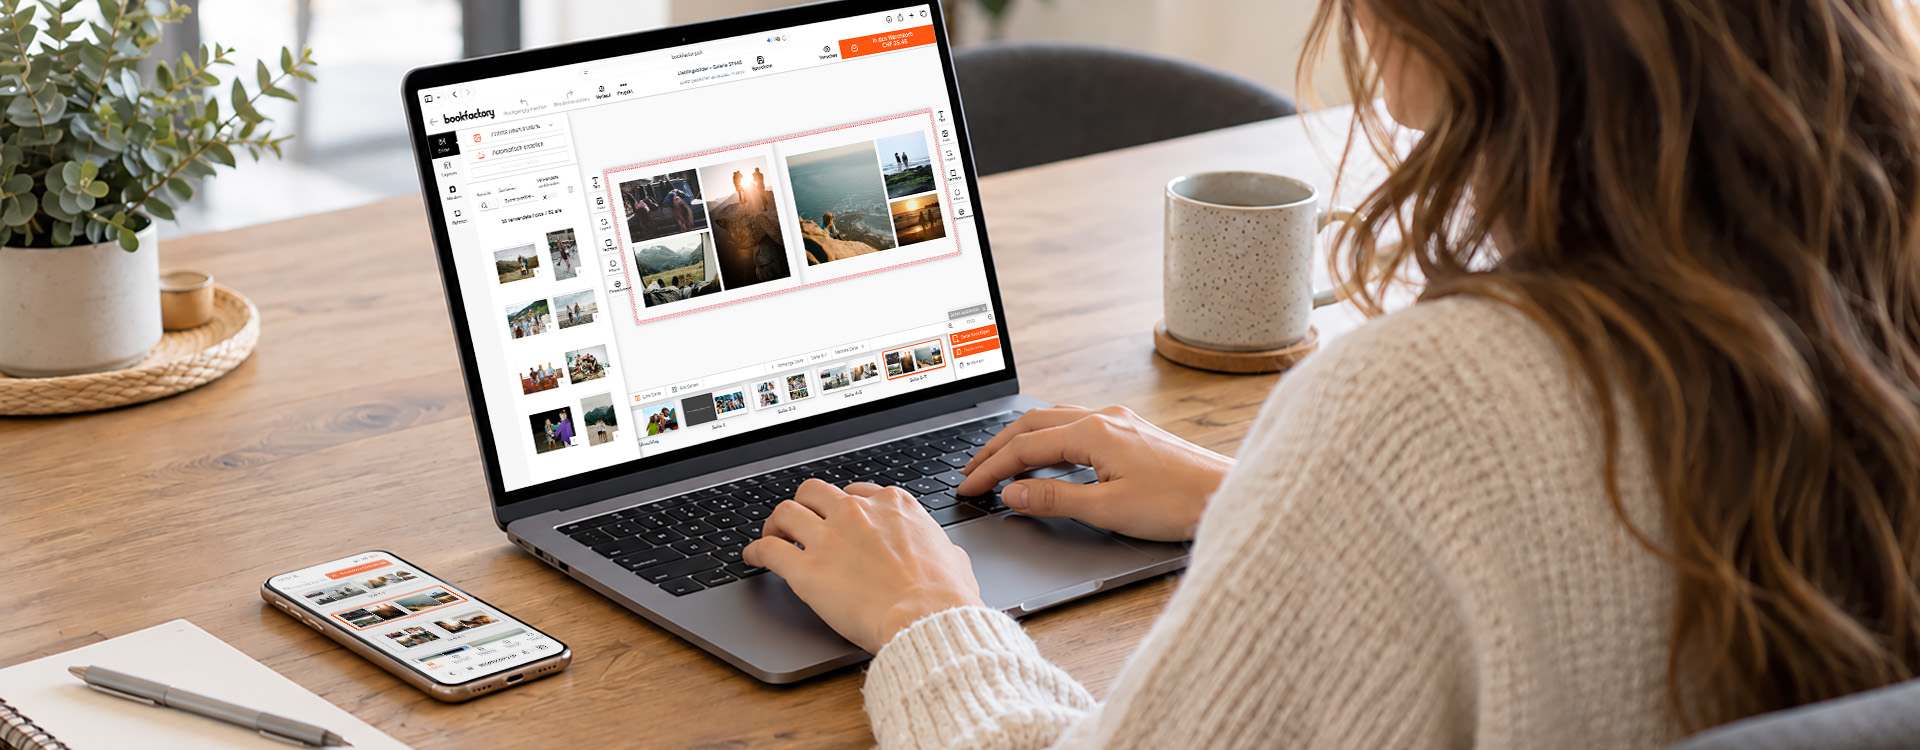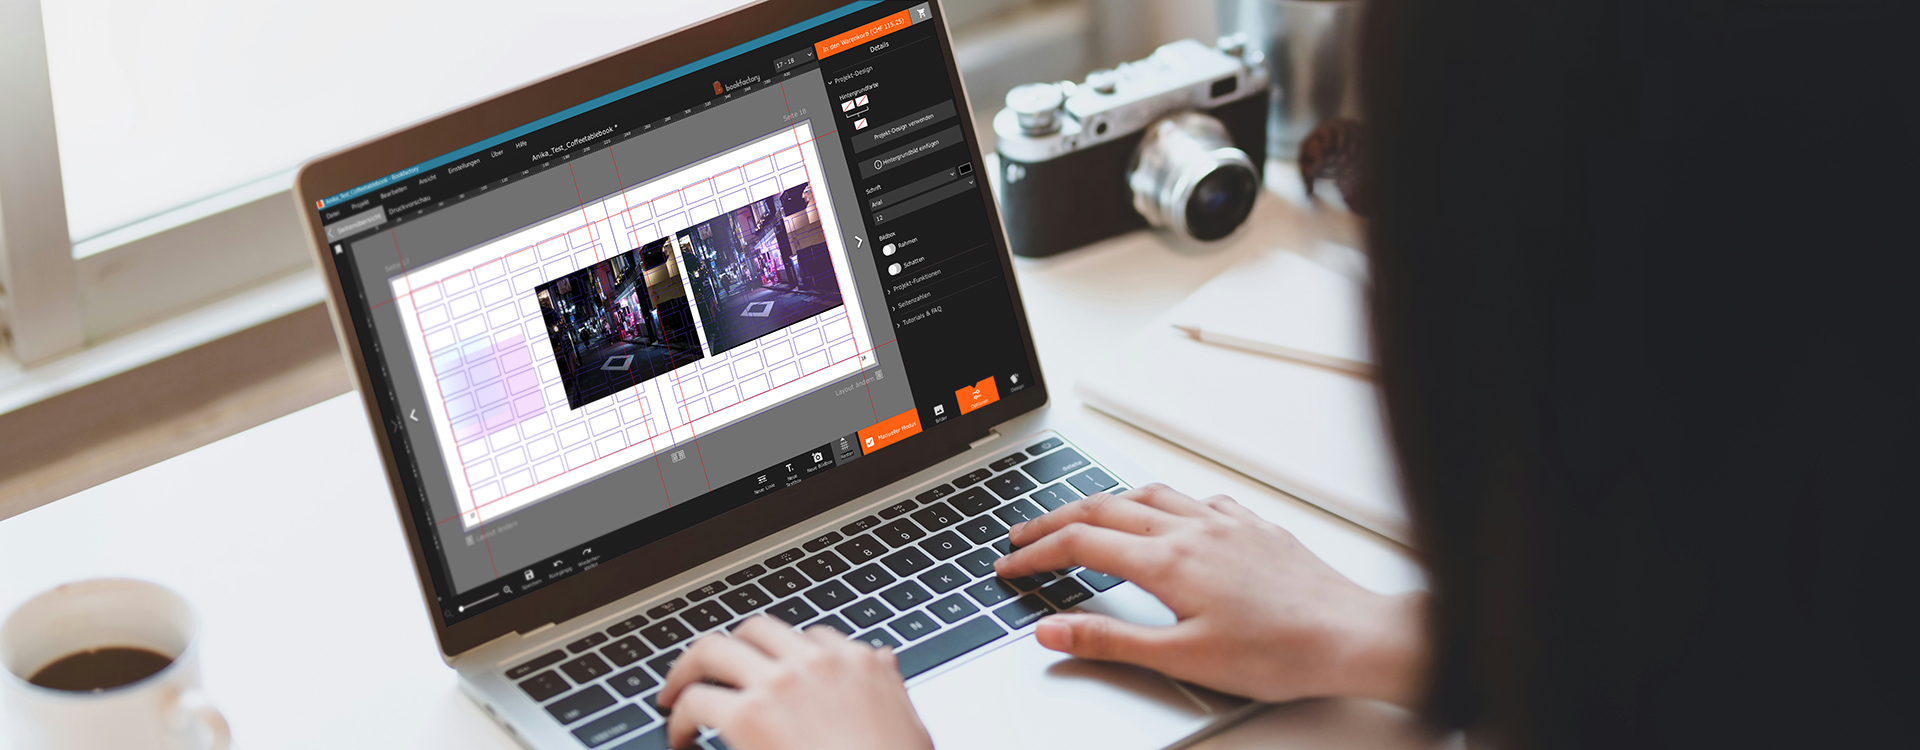
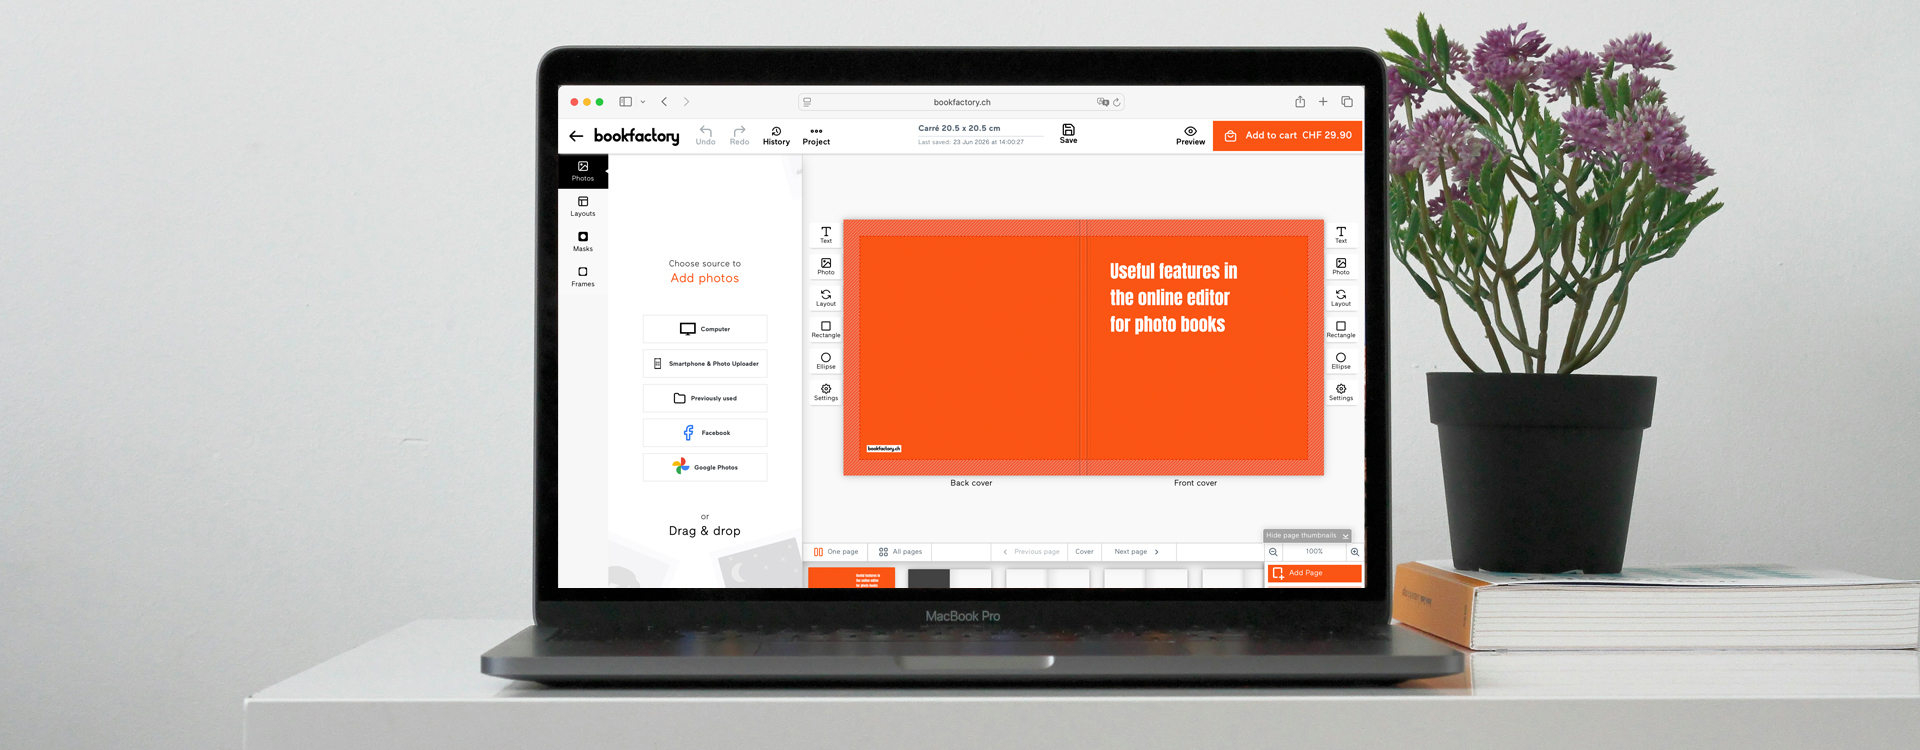
With the Online Editor, you can design your photo book directly online in your browser, without needing any software. You can use templates, design your own layout or let the Smart Editor do the work for you. It’s quick and easy.
In this article, you’ll find tips on how to upload photos from multiple people or devices to a photo book project and how to design a photo book collaboratively.
You might also discover other features that are useful for creating your Photo book:
- Create and save a project
- Settings
- Add photos
- Create a Photo book automatically
- Use layouts
- Guides
- Global project settings
- Share project
Create and save a project
Choose the photo book that’s right for your project. For example, the Photobook Premium, the Classic Photo Book and our most popular photo book. It’s perfect for photos from your last holiday, family celebrations or days out with the children. It also makes a lovely gift to mark a colleague’s departure, retirement or birthday.
Click on ‘Create now’ and choose a suitable template, or start with the ‘Design yourself’ template. The online editor will open with the options ‘Smart Editor’ and ‘Manual mode’.
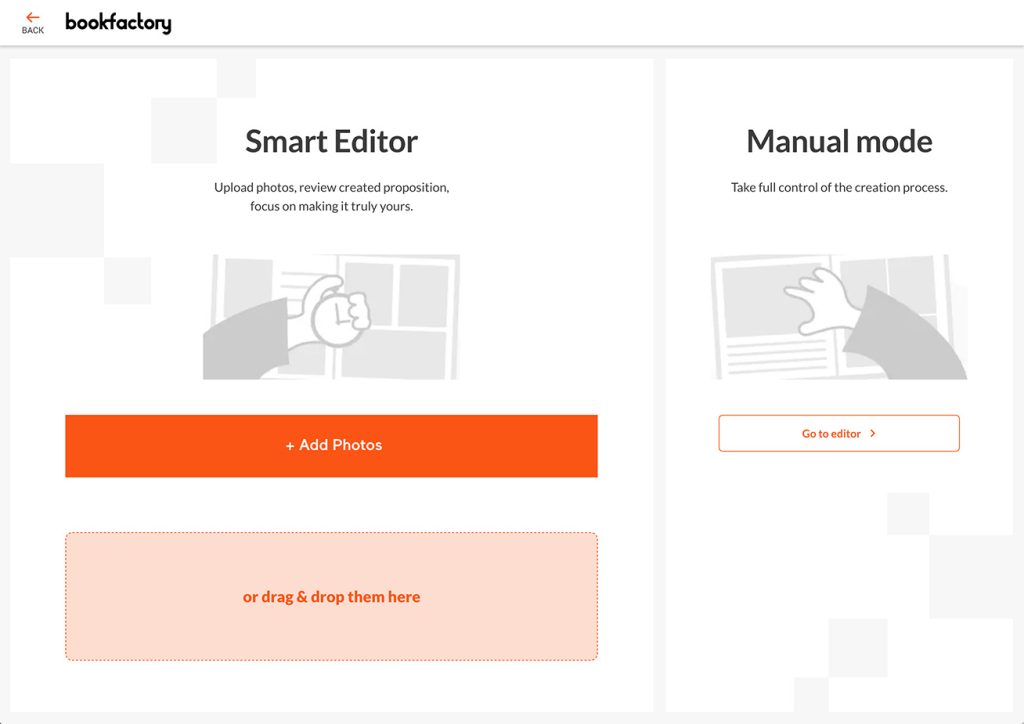
Smart Editor
Select ‘Add photos’ to upload photos and create your photo book automatically straight away. This gives you a first draft of your photo book quickly and easily. You’ll still have plenty of options afterwards to customise the design entirely to your liking.
Manual mode
Click on ‘Go to Editor’ to open the editor straight away. You can also add Photos at a later date and have the Photo book created automatically.
Tip: Choose a descriptive name for your Photo book project and click ‘Save’. This will allow you to find your project later in the list of Online Editor projects in your account. There, you can continue editing the project or duplicate it to create a copy.
Settings
If you are in the ‘One Page’ view, you can configure the product’s attributes in the settings. This means you don’t have to go back to the product page if you want to choose a different paper; you can change this within an existing project.
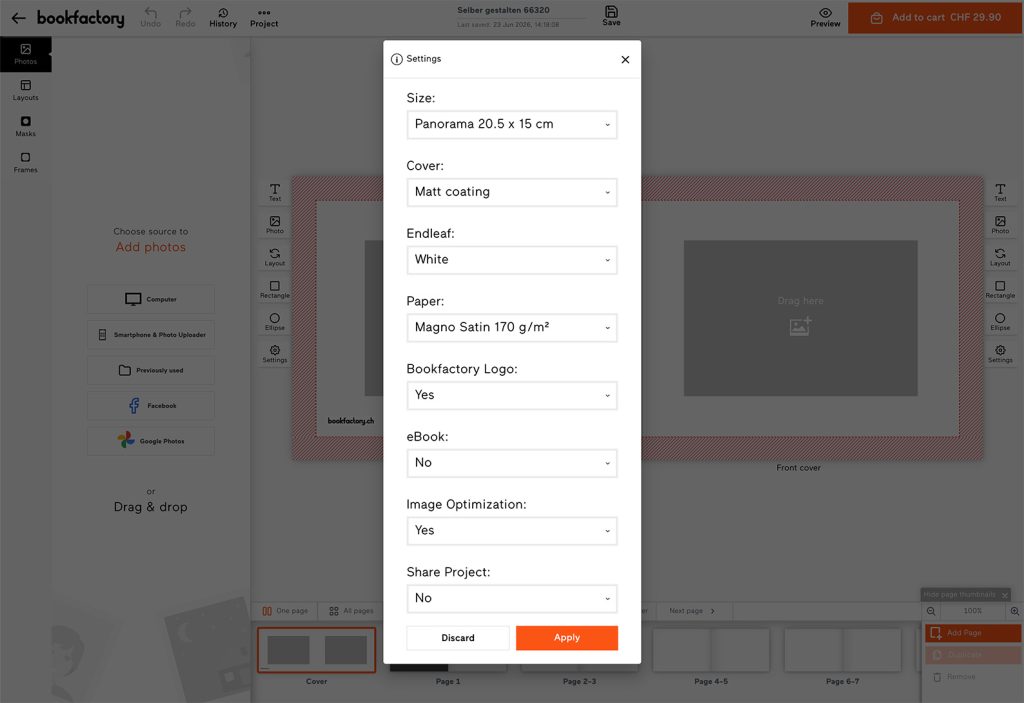
Changing certain attributes will not affect the layout of your Photo book (e.g. cover, image optimisation, etc.). If you change the size of your Photo book, this may affect the layout. After changing the format, please check all pages and the positioning of the photos.
Tip: If you want to revert to the previous version, you can select a previous version from the ‘History’ and load it.
Add photos
Every photo book project starts with the photos. You can choose photos from various sources and import them into your project. Photos can be uploaded to your photo book project from different devices and by several people.
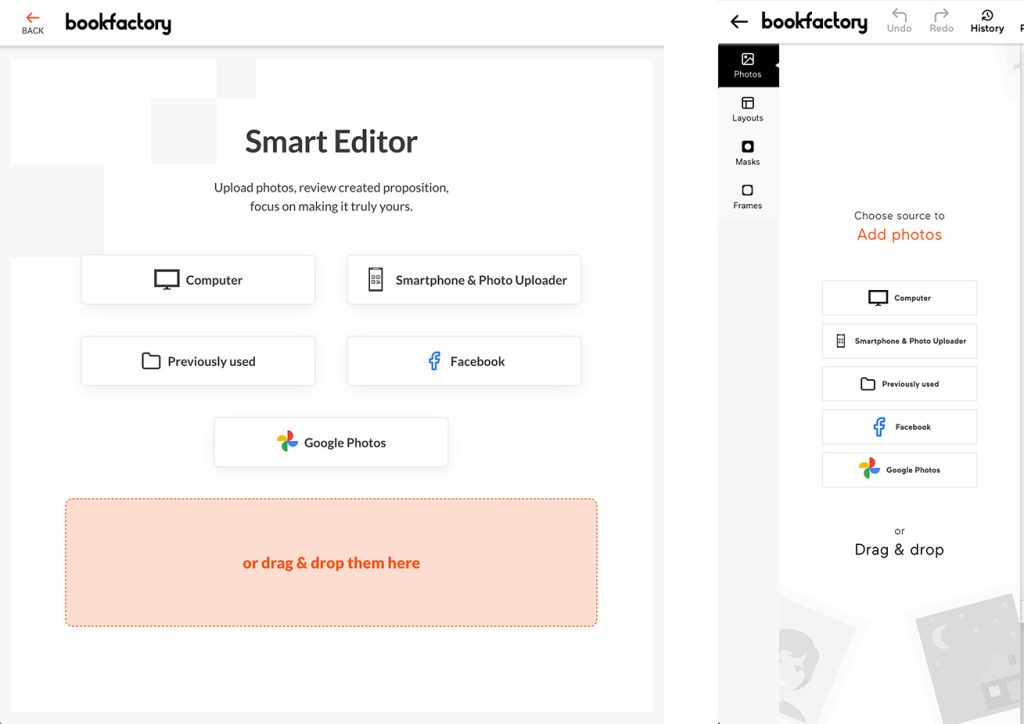
Photos can be uploaded using the ‘Smart Editor’ to automatically create a photo book using these photos. However, you can also add photos whilst editing in the editor.
Computer / My device
Select ‘Computer’ to choose Photos from your computer, or ‘My Device’ on smartphones to select and upload Photos.
Smartphone & Photo Uploader
You can scan the QR code with your smartphone camera and upload the photos directly to the project. Alternatively, you can copy the link and share it with people who are authorised to upload photos to the project. The Photo Uploader link can be used on other devices and by several people. These people do not need to log in or have an account.
Once you have uploaded the photos, you can close the browser window. The photos will be added to the photos in the Photo book project. The project does not need to be open for this to happen.
Previously used
If you already have a Bookfactory account and have uploaded photos to other projects, you can use ‘Recently used’ to access these photos and import them into your project.
If you’d like to import photos from your Facebook profile, you can click on ‘Facebook’, log in with your Facebook account and add the photos you want to your project.
Google Photos
You can import photos from Google Photos. To do this, sign in with your Google account, select the photos you want to add to your project, and click ‘Done’. These photos will be uploaded directly to your project.
Create a photo book automatically
The Smart Editor is the quickest way to create a Photo book. It automatically selects the best photos and arranges them perfectly on the pages.
How the Photo book Smart Editor works
Create automatically
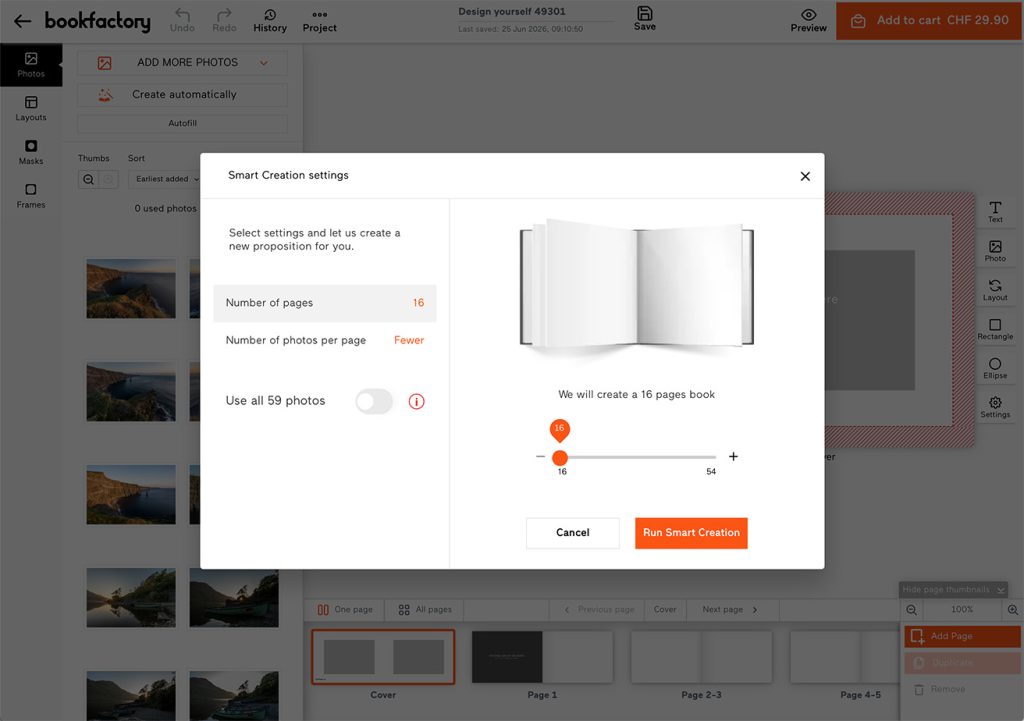
In the Smart Editor, select ‘Add photos’ and then ‘Create automatically’ to create your Photo book straight away. Alternatively, select ‘Create automatically’ in the editor and adjust the settings for automatic Photo book creation. You can choose the number of pages and decide whether to use more or fewer photos per page.
The Smart Editor automatically selects the best photos. This saves you the time-consuming task of pre-selecting photos. If you have already selected the photos you want, choose ‘Use all photos’. This will bypass the automatic selection process and all your photos will be used in the Photo book.
Tip: If you haven’t used all your photos and only want to view the ones you haven’t used yet, you can do this by selecting ‘Hide used photos’. When this option is enabled, only the photos you haven’t used yet will be displayed.
Using layouts
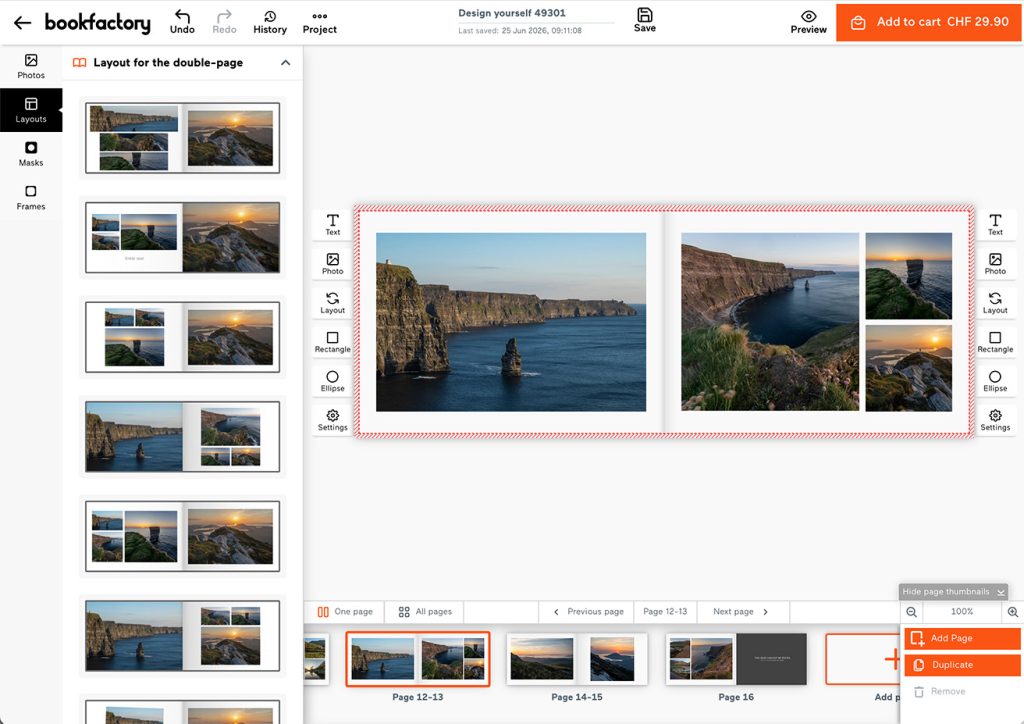
In the ‘One Page’ view, you can find links in the ‘Choose Layouts’ sidebar. You’ll be shown dynamically generated layout suggestions for the double-page spread or separately for the left and right pages. Click on a layout from the selection to apply it to the page. If you’re not happy with the change, you can ‘Undo’ it at any time.
Tip: If you’ve placed more than one photo on a page, you can switch between different layout options, add more image boxes or remove them via the ‘Layout’ menu on the left or right-hand side of the page.
Guidelines
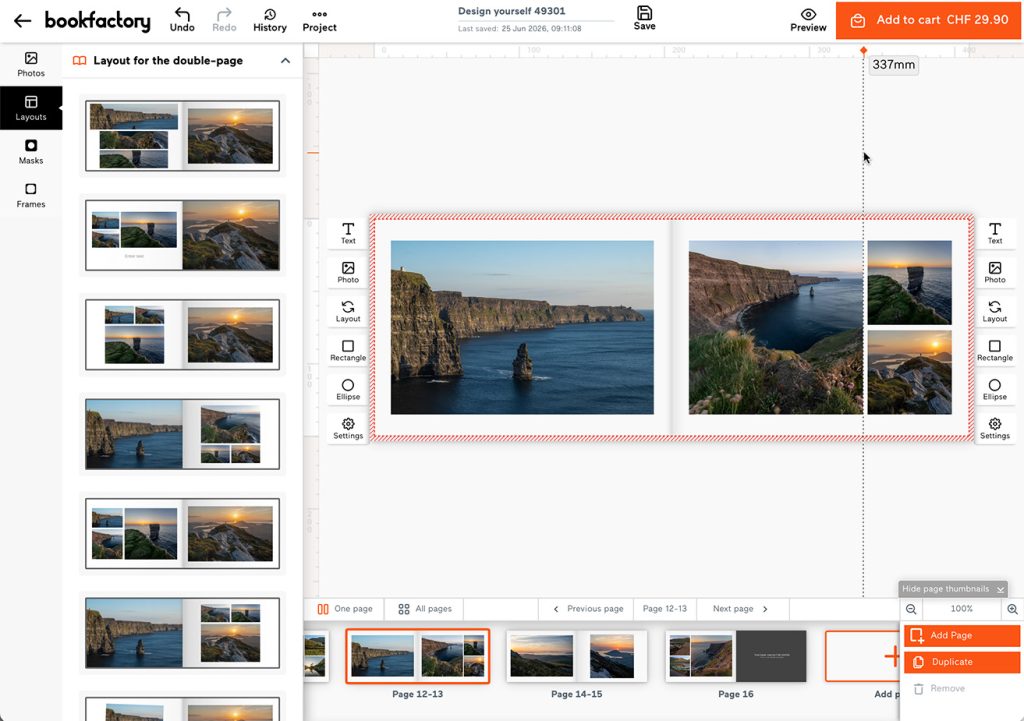
Guidelines are a good way of creating a grid and aligning image and text boxes with it.
At the top of the ‘Project’ menu, you can select ‘Show ruler’. A ruler will appear on the left and at the top, from which you can drag guides onto the page. These guides will be displayed on all pages. If ‘Snapping’ is also selected in the ‘Project’ menu, the elements you place can be aligned precisely with the guides.
Global project settings
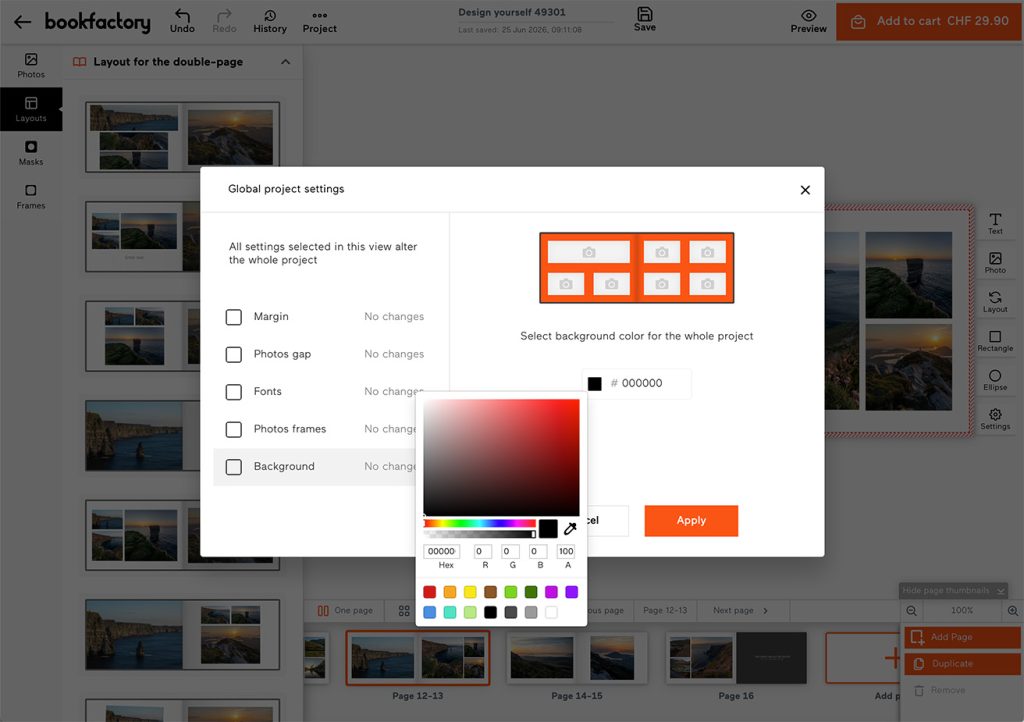
It is possible to apply certain settings to the entire project. For example, in the ‘Project’ menu at the top, you can use ‘Global project settings’ to adjust the margin and spacing between all Photos, the font, the frame and the background colour.
This setting will affect all pages in the entire project, and any previous settings will be overwritten.
Tip: We recommend setting this option at the start to define the desired font and background colour for the entire project.
Share project
You can share your project so that others can view a preview of your Photo book. Or you can share your project so that other people can edit the Photo book. This means they can not only upload photos, but also add and remove pages and edit the entire layout.
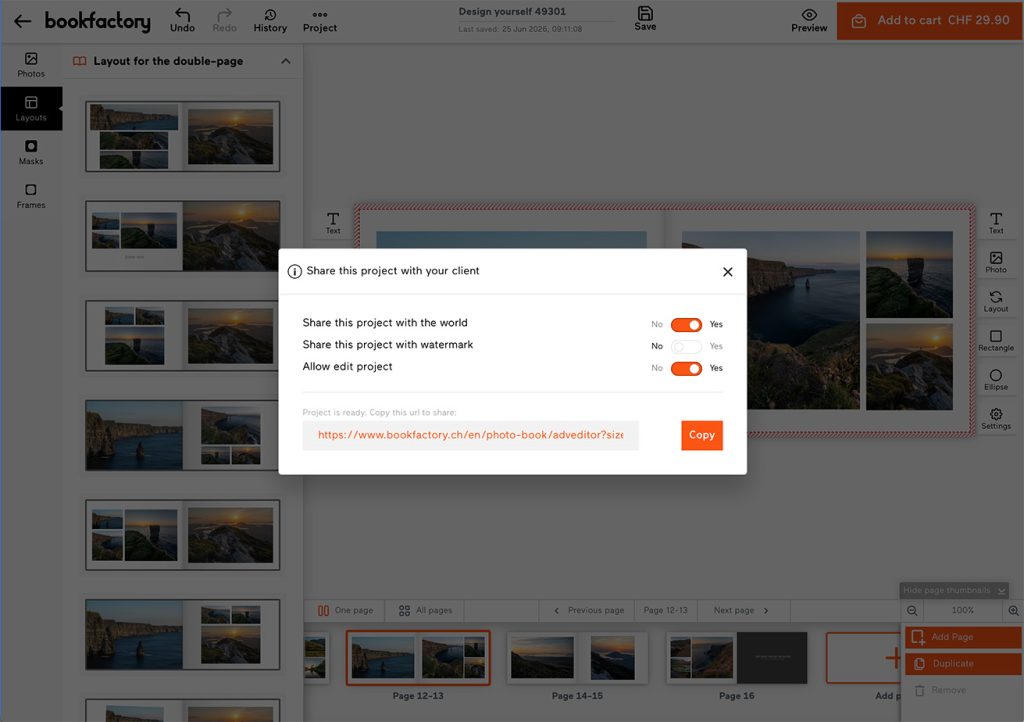
Share this project with the world
First, you need to save your project. You can then select ‘Share project’ from the ‘Project’ menu at the top. Click on ‘Share project with the world’.
Please note: Your project will remain editable until this feature is deactivated again.
Share this project with watermark
If you wish, you can share the project with a watermark; an @COPYRIGHT watermark will then be displayed.
Allow edit project
If you enable ‘Allow edit project’, anyone with the link will have full access to the Photo book project and will be able to edit it.
Select the sharing options you want, copy the link and send it to the people you want to share your project with. If you change the options, the link will change as well.
If someone receives a link to a project that has been shared with editing rights, they can click on ‘Edit’ in the top right-hand corner.
Please note: Bear in mind that the last change saved to the project will overwrite the current version.
If the project is open in multiple windows, the page must be refreshed to view the most recently saved version. If the project is saved but has been modified and saved in the meantime, a message will appear showing the time of the last modification.
Tip: To ensure that changes made by different people are not overwritten during the editing process, it is advisable to specify a time limit for each person when sending the link, and perhaps also to specify which pages they are to edit.
For example, at a farewell party or retirement celebration, staff can each design a double-page spread in a farewell book, featuring personal messages and Photos of fond memories of the time spent together.
Further information and help on the online editor
Benefits and opportunities
You can find out about the benefits and features of the online editor on this page:
https://www.bookfactory.ch/en/bookfactory-online-editor/
FAQ
You can find answers to frequently asked questions about the online editor in our FAQ articles:
https://bookfactory-faq.gorgias.help/en-GB/articles/online-editor-114054
Customer Service
If you have any further questions about the online editor, Bookfactory’s customer service team will be happy to help:
https://www.bookfactory.ch/en/contact/